Affordable storage upgrades are strategic investments that eliminate bottlenecks, accelerate workflows, and grow with your needs. The right storage at the right price points can turn post-production from a frustrating slog into an efficient, creative process.
Before spending a dollar on storage upgrades, you need clarity on where storage speed and capacity actually matter versus where they don’t.
Many creators make expensive mistakes here. They buy high-speed external SSDs for archival footage accessed once a year. Or they keep active project files on slow mechanical drives while wondering why scrubbing through timelines feels painful.
Your workflow has distinct storage tiers:
Active project storage needs speed above all else. This is footage you’re currently editing, color grading, or working with daily. Slow access multiplies across hundreds of operations, turning a two-hour edit into a four-hour ordeal.
Near-line project storage holds recent projects you might access for revisions. Speed matters less than reliability and reasonable access times.
Archive storage keeps completed projects and raw footage you rarely access. Capacity becomes the priority, not speed.
Ingest and transfer storage moves footage from cameras to your editing system. This staging area needs enough speed to prevent transfer bottlenecks.
Getting these tiers wrong wastes money. A $400 high-speed portable SSD makes sense for active editing but represents poor value for archival footage that could live on a $100 mechanical drive.
The Reality Check: What Speed Do You Actually Need?
Storage marketing loves big numbers. 2000MB/s read speeds! But do you actually need those speeds?
Standard 4K footage at 100Mbps bitrate needs sustained read speeds around 12.5MB/s. Even playing back multiple 4K streams for multicam editing typically needs 50MB/s-100MB/s sustained reads. Any modern SSD, even budget SATA models, delivers 400MB/s+ sustained reads.
RAW video workflows, high frame rate footage, and heavy effects work can tax even fast storage. But many creators pay for speeds they don’t use while their actual bottleneck sits elsewhere.
Here’s a practical framework:
- 1080p editing, most 4K footage up to 150Mbps – Budget SATA SSDs handle this easily. Read speeds of 400-500 MB/s provide smooth playback with headroom for effects.
- 4K 10-bit footage, ProRes 422, heavy multicam work – Mid-range NVMe SSDs offer 1000MB/s-1500MB/s speeds that eliminate storage bottlenecks.
- 6K/8K RAW, ProRes RAW, RED footage, heavy effects stacks – High-end NVMe drives with 2000MB/s+ sustained reads become worth the investment.
- Archive and backup – Mechanical drives or budget SSDs work fine. Speed doesn’t matter when accessing files monthly or yearly.
The $150 you save by choosing appropriate rather than maximum speed can fund additional capacity or better backup solutions.
Internal vs External: Making the Right Choice
Internal upgrades offer better value per gigabyte and faster sustained speeds. External solutions provide flexibility and portability.
Internal drive upgrades make sense when you work primarily at a single workstation. Desktop systems typically accommodate multiple drives – a fast NVMe boot drive, a secondary NVMe or SATA SSD for active projects, and potentially a mechanical drive for archives.
Laptop users face different constraints. Most modern laptops accommodate only one internal drive. Upgrading improves performance but eliminates internal expansion options. External storage becomes necessary for project files, backups, and archives.
External SSDs serve multiple roles effectively. They move projects between workstations. They provide fast temporary storage for on-location editing. They offer expandable capacity without opening your computer.
Budget optimization often means combining approaches. A laptop with upgraded internal storage for the operating system and software, plus external SSDs for project files, balances performance with flexibility.
Affordable Storage Upgrades and Configurations That Actually Work
Starter Configuration ($150-$250)
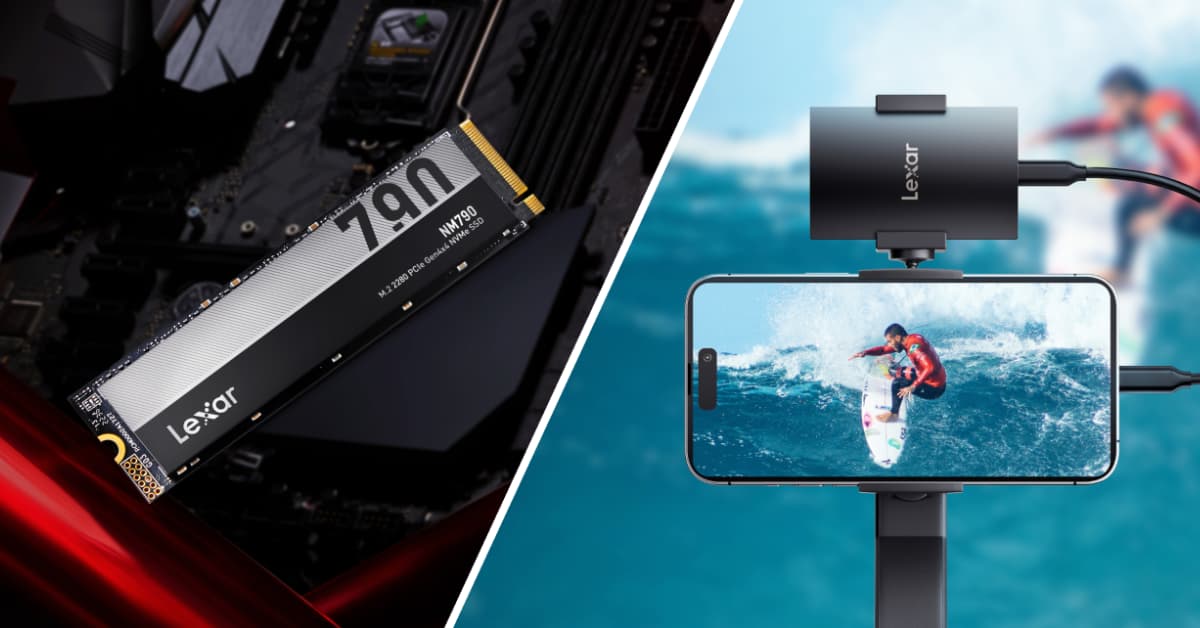
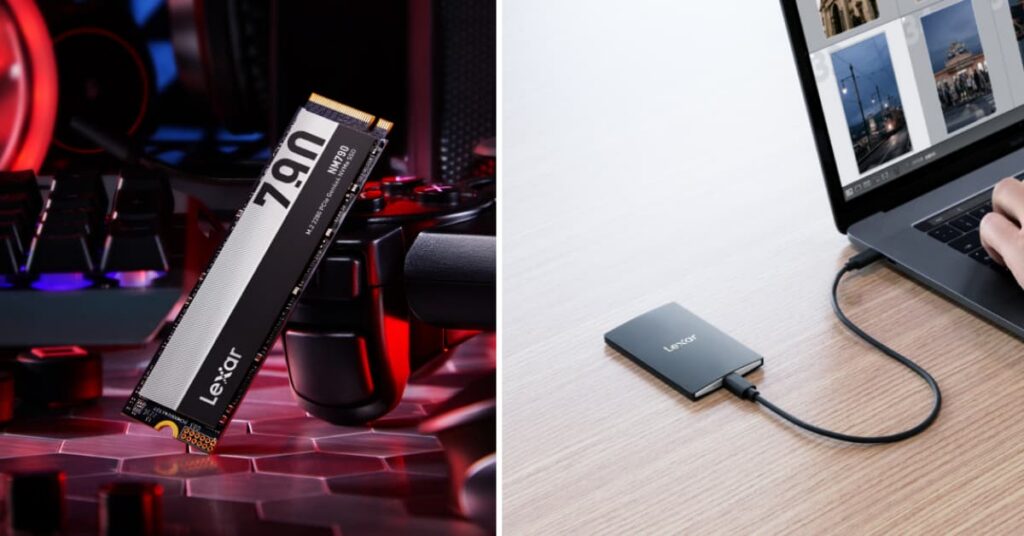
Primary setup: 500GB – 1TB NVMe SSD for operating system and active projects. The Lexar® NM790 M.2 2280 PCIe Gen 4×4 NVMe SSD delivers strong performance at competitive pricing, offering read speeds up to 7400MB/s that handle multiple video streams easily.
Backup/archive: 2TB external mechanical drive or budget external SSD for completed projects. Speed doesn’t matter for archived content, making mechanical drives cost-effective.
This configuration works well for YouTube creators, social media content producers, and anyone working primarily with 1080p or standard 4K footage.
Intermediate Configuration ($400-$600)
Primary setup: 1TB – 2TB high-performance NVMe SSD for operating system, software, and active projects.
Project storage: 1TB – 2TB external SSD for near-line projects and fast transfers. The Lexar® Professional SL500 Portable SSD provides USB 3.2 Gen 2×2 connectivity with read speeds up to 2000 MB/s, making it effective for direct editing of 4K footage or rapid project transfers.
Archive storage: 4TB+ external mechanical drive for completed projects and raw footage archives.
This configuration suits established content creators, small production teams, and editors working with clients.
Advanced Configuration ($800-$1200)
Boot drive: 500GB – 1TB NVMe SSD dedicated to operating system and applications.
Active project drive: 2TB – 4TB high-performance NVMe SSD exclusively for current projects.
Transfer and ingest: 1TB – 2TB external SSD for camera card offloads and project transfers.
Archive array: 8TB+ in multiple mechanical drives or lower-tier SSDs for project archives.
This configuration handles 6K/8K footage, RAW workflows, and professional color grading while maintaining budget consciousness through strategic tier allocation.
Smart Upgrades: Getting Maximum Impact from Minimum Investment
Not every creator can implement a complete storage overhaul. Strategic partial upgrades often deliver surprising performance improvements for modest investments.
The cache drive upgrade. Video editing software generates substantial cache files – transcoded media, waveforms, thumbnails, effects previews. Moving cache to a dedicated SSD, even a smaller 250GB drive costing $30-$40, can dramatically improve timeline responsiveness and speed preview renders.
The boot drive replacement. If you’re still running your operating system from a mechanical drive or old SATA SSD, upgrading to a modern NVMe drive dramatically improves system responsiveness. A 500GB NVMe drive costs $40-$60 and often provides the most noticeable performance gain for the investment.
The external SSD addition. Adding portable SSD storage to an otherwise mechanical setup provides fast temporary workspace for active projects. Edit from the SSD while archiving to mechanical drives. A 500GB external SSD runs $50-$70 and eliminates the biggest bottleneck – slow project file access.
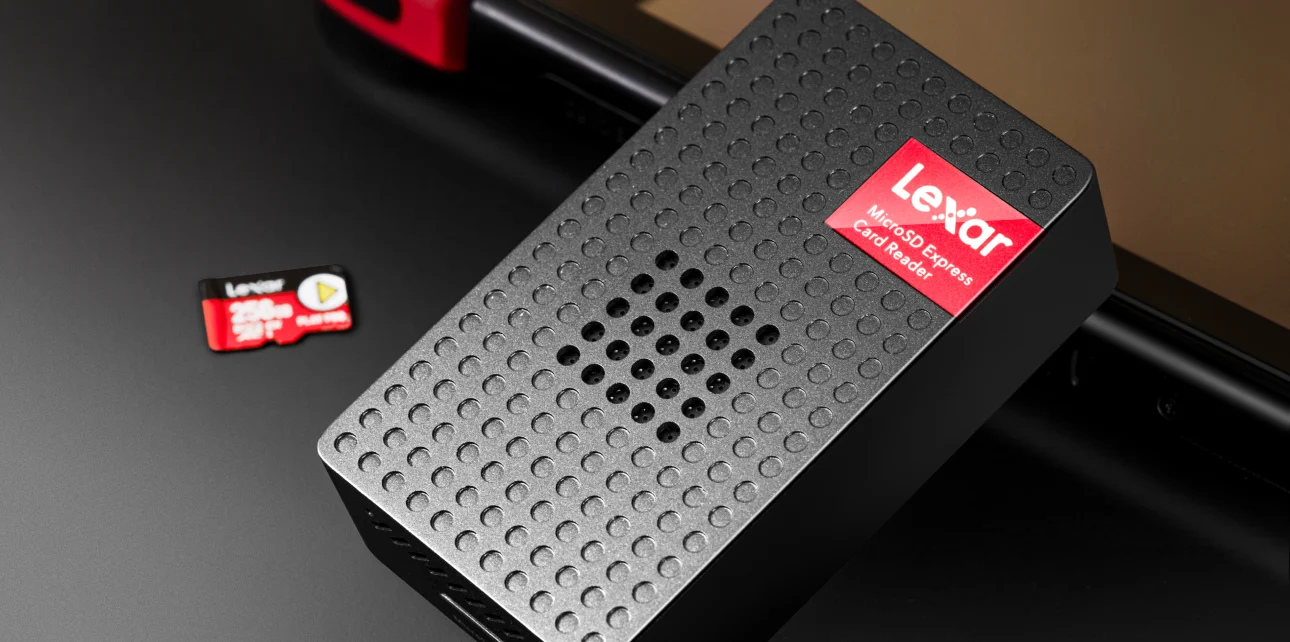
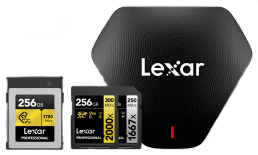
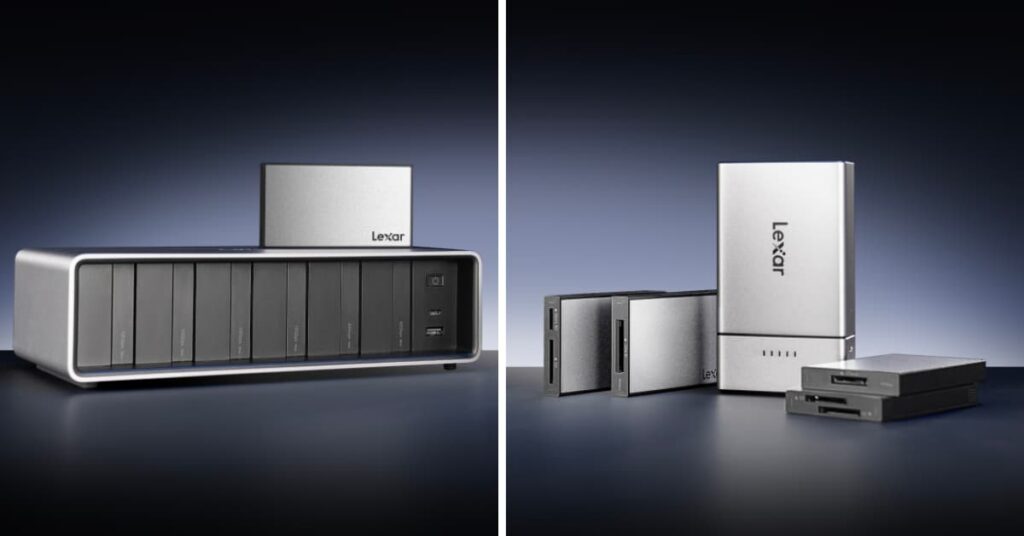
The memory card reader upgrade. Slow card readers bottleneck your entire ingest workflow. A quality USB 3.2 card reader costs $20-$40 and accelerates every transfer. The Lexar® Professional Workflow series offers multi-card solutions that further speed ingest for creators juggling multiple camera systems.
These targeted upgrades require minimal investment but address specific bottlenecks. The key is identifying where your workflow actually slows down.
Maintenance Practices That Protect Your Investment
Affordable storage delivers poor value if it fails prematurely. Basic maintenance practices extend drive life and prevent data loss.
Temperature management matters. SSDs generate heat under sustained loads. External SSDs can throttle performance when temperatures rise, especially during long transfers or extended editing sessions. Keep drives in well-ventilated areas. Consider inexpensive aluminum stands for external SSDs to act as passive heatsinks.
Regular backups require discipline but prevent disasters. The 3-2-1 rule remains relevant: three copies of important data, on two different media types, with one copy off-site. A mechanical drive for local backups plus cloud storage for critical projects satisfies this requirement affordably.
Filesystem maintenance prevents gradual performance degradation. Enabling TRIM on Windows or checking APFS on Mac keeps performance optimal. Check drive health occasionally using manufacturer tools. Early warning of potential failures provides time to migrate data.
Physical care prevents avoidable damage. External drives should be ejected properly before disconnection. Portable SSDs travel well but still benefit from protective cases. Cable quality matters too: Cheap USB cables can cause connection issues.
When to Upgrade: Reading the Signs
How do you know when your current storage setup needs attention? Several warning signs indicate storage has become your workflow bottleneck.
Timeline playback stutters despite your computer meeting software requirements. Dropped frames during preview suggest your storage can’t maintain the data rate needed for smooth playback.
Exports take significantly longer than expected. If your CPU usage stays low during exports while progress crawls, storage likely can’t keep pace with encoding.
Your workspace runs out of room constantly. If you spend more time managing space than creating content, you need more capacity.
Project open and save times become annoyingly long. If you wait minutes for projects to load or save, especially on moderately complex timelines, faster storage would accelerate these operations.
File transfers feel painfully slow. Offloading camera cards or moving projects between drives shouldn’t dominate your workflow time. If transfers routinely take 30+ minutes for typical shoot amounts, faster storage or better connectivity improves productivity noticeably.

Building Storage Strategy for Growth
Budget-conscious creators need storage strategies that scale as their work evolves.
Consider capacity headroom when sizing storage. That 500GB drive might accommodate current projects, but what about six months from now? Buying slightly more capacity upfront costs marginally more but delays the next upgrade substantially.
Evaluate interface compatibility for longevity. USB 3.2 Gen 2×2 offers 20Gbps bandwidth – enough for demanding portable editing. Drives with this connectivity work well today and remain relevant as workflows evolve.
Think modularly about storage expansion. Rather than replacing the entire storage infrastructure, add capacity where needed. An internal drive upgrade doesn’t preclude external storage additions later. This incremental approach spreads costs across time while maintaining performance.
Plan backup integration from the start. Storage strategy isn’t complete without data protection. Budget for backup solutions simultaneously with performance upgrades.
Making Budget Storage Work for Your Reality
Affordable storage upgrades don’t require compromising quality or accepting poor performance. They require understanding where performance actually matters in your specific workflow and investing strategically in those areas.
The creator editing social media content from 1080p footage needs different storage than someone color grading 6K RAW cinema projects. Neither setup is wrong: Each is optimized for different requirements and budgets.
Your storage configuration should match your actual work, not aspirational workflows you might tackle someday. If you primarily edit 1080p talking-head videos, don’t buy storage sized for 8K RAW cinema work.
Budget optimization comes from eliminating waste, not eliminating performance. Waste happens when you pay for speeds you don’t use, capacity you don’t need, or features your workflow doesn’t leverage. Performance comes from strategic investment in the storage tiers that actually impact your daily work.
Whether you’re implementing your first storage upgrade or refining an existing setup, focus on removing the bottlenecks that frustrate you most. That might be slow timeline playback, lengthy file transfers, or insufficient workspace capacity.
Storage doesn’t need to be the most expensive part of your setup to be effective. With strategic planning and appropriate tier allocation, you can build storage infrastructure that accelerates your workflow and grows with your needs, all while respecting budget realities that every emerging creator understands.