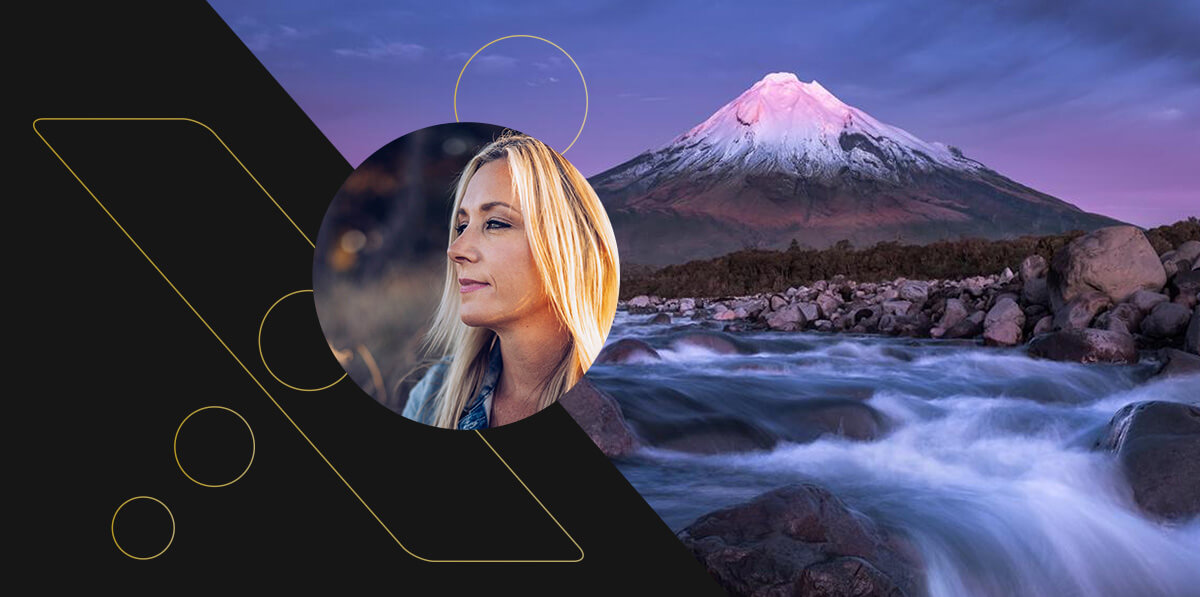
Today, Lexar Ambassador Rachel Stewart, shares her top five tips for shooting landscapes. You can see some of Rachel’s work and check out the gear she uses here.
Landscape photography is a passion and career that I have been blessed to pursue for more than 10 years now. When I started out I didn’t have a lot of experience behind me and I have definitely learned some incredibly helpful tips along the way that make taking a landscape photo just that little bit easier.
Whether you’re a seasoned professional or just starting out, mastering the art of landscape photography can elevate your imagery to new heights. To help you on your journey, here are my top five landscape photography tips to help you sharpen your skills and capture the beauty of the world around you.
1. Composition Research
We’ve all marveled at breathtaking photographs with flawless composition and impeccable angles. They make us want to venture to the same locations and try our hand at capturing that beauty. But it’s equally essential to approach these places with a fresh perspective. Before embarking on your photography journey, take some time to research the location. Utilize tools like Google Earth and online image searches to gain insights into potential compositions. While conditions may vary upon arrival, being prepared can make a world of difference. And if at first you don’t succeed, don’t be discouraged; return another day armed with newfound knowledge and try again.
2. Focal Point and Composition
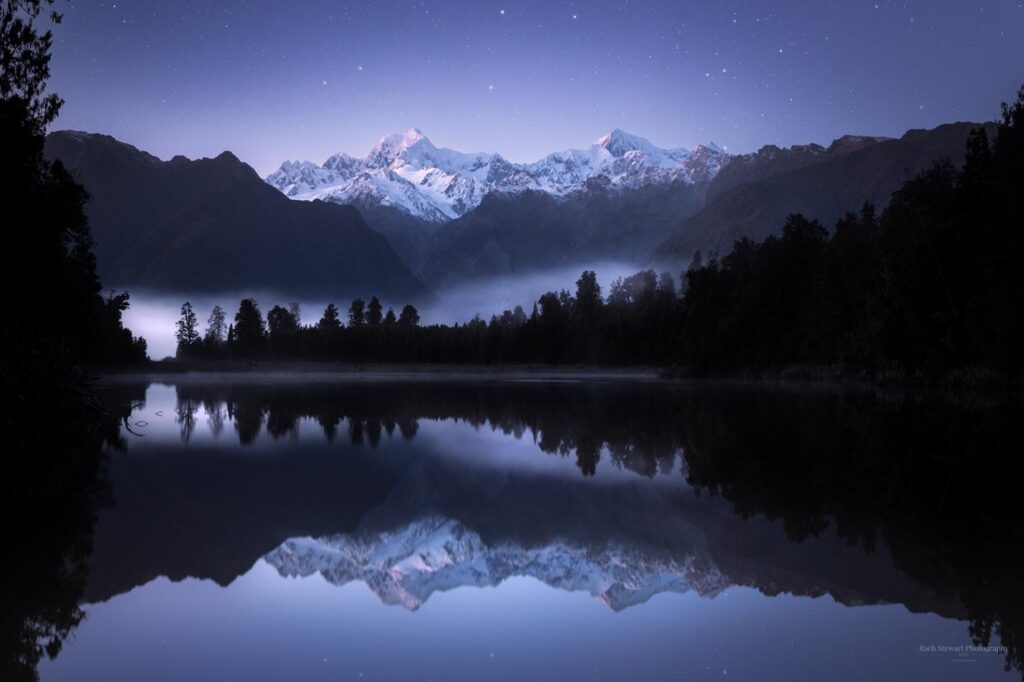
In many landscape photographs, there’s usually a prominent focal point that commands attention. It could be a majestic mountain, a striking boulder, a solitary tree, or even a human figure. This focal point serves as an anchor for the viewer’s gaze, providing a point of interest to engage with. When framing your shot, begin by identifying this key element and building your composition around it. Once you establish this focal point, the rest of the scene naturally falls into place, resulting in a cohesive and captivating image.
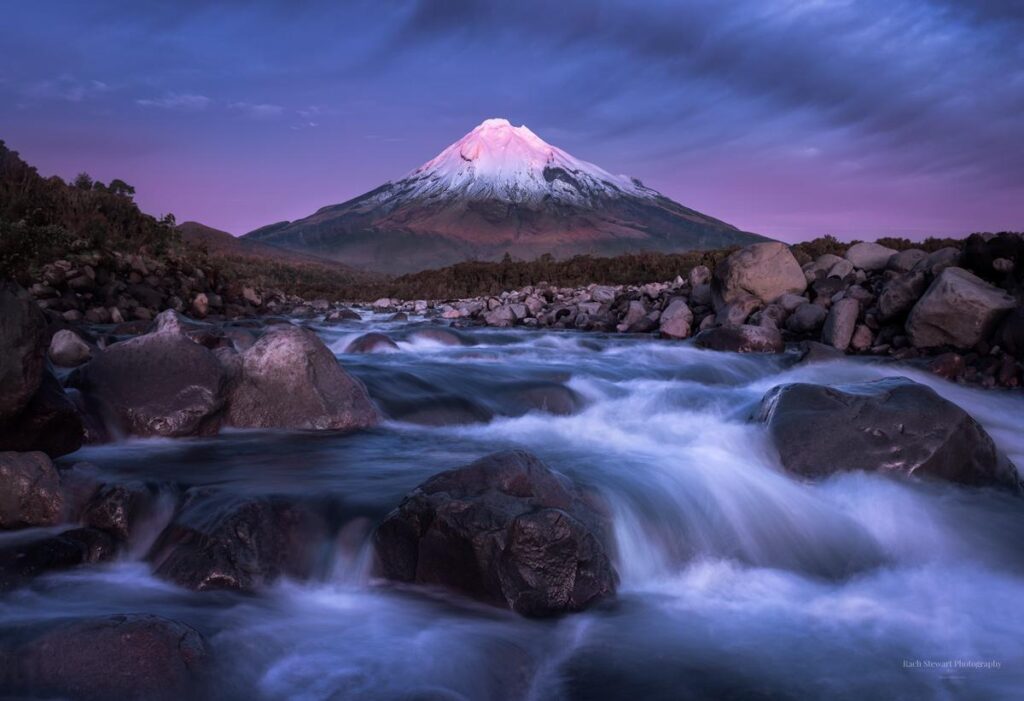
3. Photograph during golden and blue hour
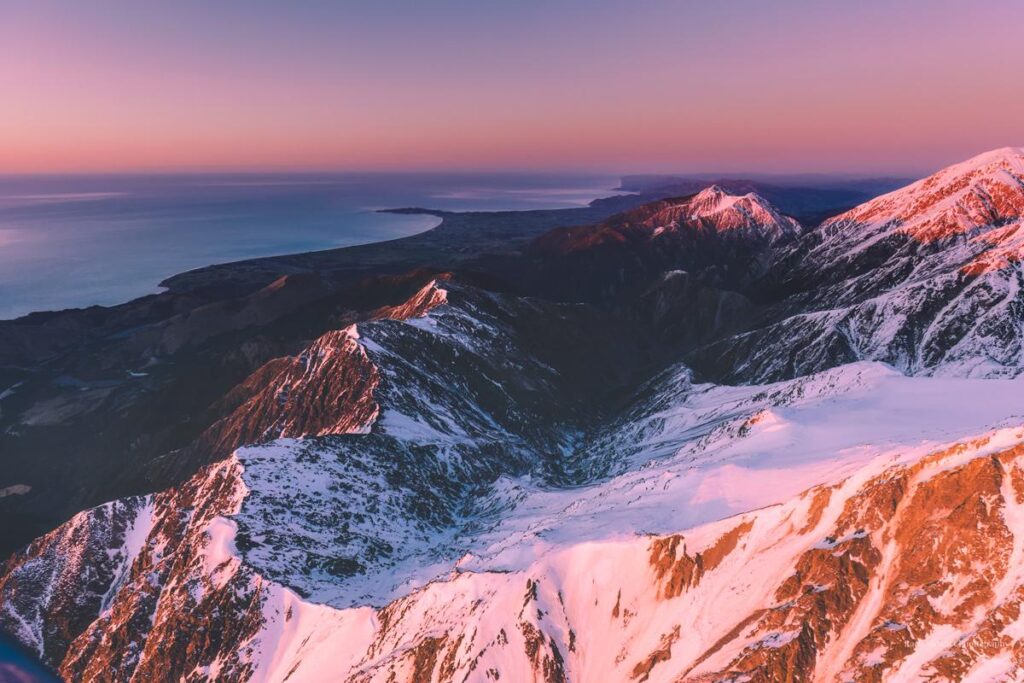
In my experience, the golden and blue hours stand out as prime moments for capturing breathtaking landscapes. The soft, gentle light of the golden hour bathes the surroundings in a warm glow, casting captivating patterns on mountains, water bodies, and trees. Meanwhile, the blue hour, with its lingering hues from sunrise or sunset, infuses the scene with a mesmerizing palette of colors. It is definitely worth researching which hour suits a particular location best, whether it’s dawn or dusk. The nuances of light vary depending on the sun’s position, offering unique opportunities for photography. Personally, these are my preferred shooting times, as I find the results rarely disappoint.
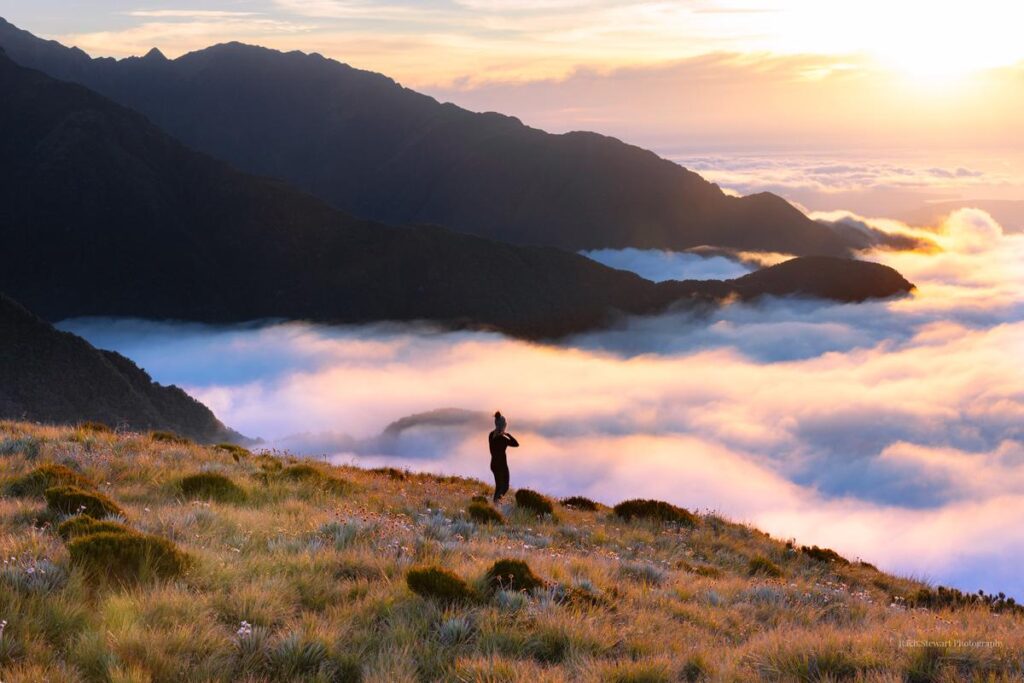
4. Use the right gear
Tripod: When you’re photographing landscapes, you’ll often find yourself shooting during the golden hour, those magical moments just before sunrise and after sunset when the light is soft and changes the landscape to golden hues and twilight colors. These times typically entail low light conditions and slower shutter speeds. Here, a tripod becomes indispensable, ensuring your images remain sharp and free from blur caused by movement or camera shake. I personally use a carbon fiber tripod which is super sturdy and allows me to photograph in the lowest of light conditions along with wind, water, and wild weather conditions.
A tripod also allows the use of a remote shutter release or the camera’s self-timer which can further minimize camera shake and ensure crisp, blur-free images.
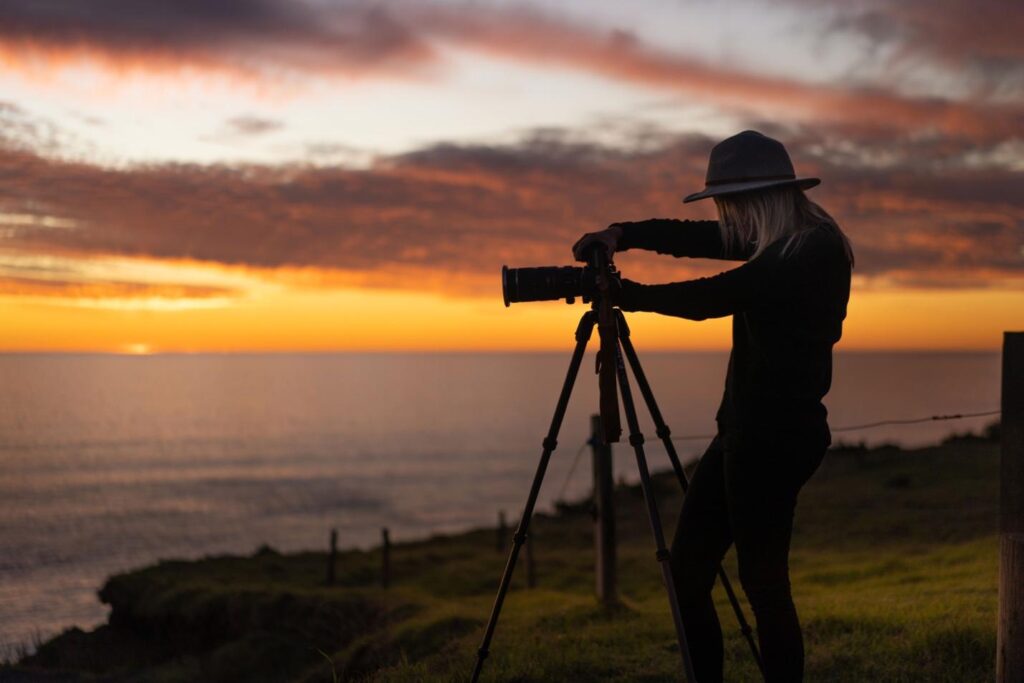
ND Filter: This can be a game changer for creating dreamy imagery when capturing clouds and water, adding a dynamic touch to your landscape compositions with long exposure. ND filters, crafted from glass or resin, are affixed to your lens either by screwing on or sliding over it, effectively reducing the incoming light and allowing for longer exposure times. If you’re going to use an ND Filter and try some long exposure photos, a sturdy tripod is non-negotiable.
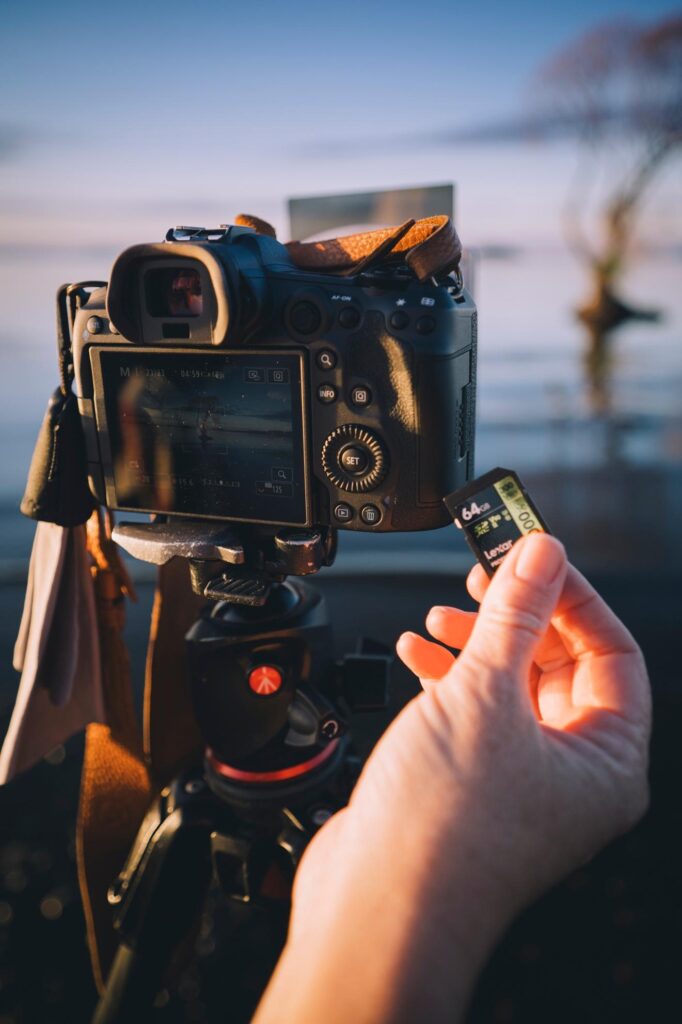
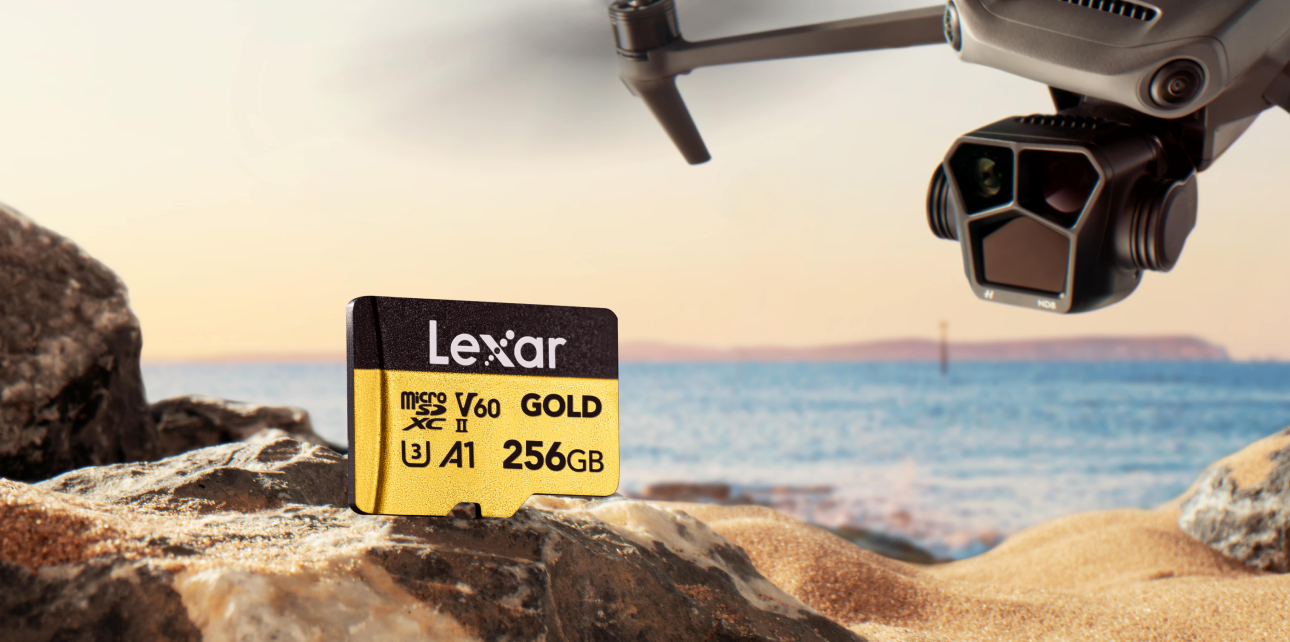
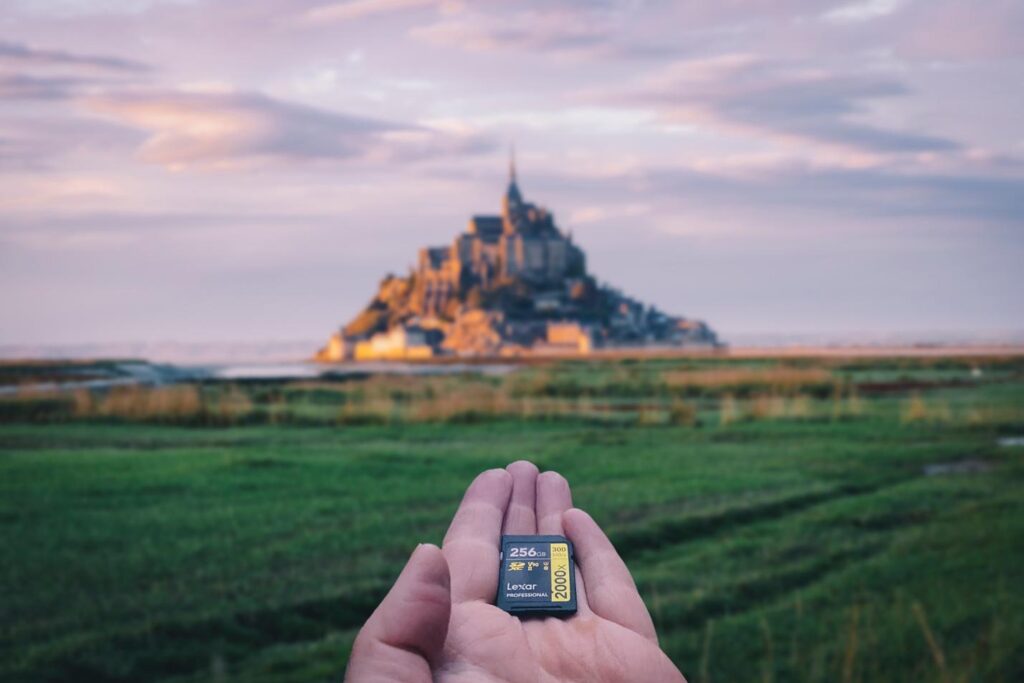
Memory Cards: It goes without saying, investing in high-quality memory cards is very important for any kind of photography including landscapes. Having a good memory card serves as the storage backbone for your precious images, offering reliability and the speed that’s crucial for handling the large file sizes often associated with landscape photography. It is always a good idea to take a few cards with you out in the field and have additional storage readily available so you can back up your files to another device and have them doubly safe until you get back to the computer. I personally use the Lexar Professional 2000x SD Cards and the speeds have been so nice to shoot and transfer my contents effortlessly.
5. Does this make a good photo?
Here’s a valuable piece of wisdom I came across early in my photographic journey: “Not every scene makes a good photo.” It’s a simple yet profound notion that has stayed with me ever since. Whenever I’m behind the lens, I find myself reflecting on this advice. It serves as a reminder to carefully consider the elements before me and question whether they truly have the potential to translate into a compelling image. This mantra has guided my photography, prompting me to seek out scenes with depth, emotion, and visual interest, rather than simply snapping away indiscriminately. It’s a mindset that continues to shape my approach to photography, urging me to seek out the extraordinary amidst the ordinary.
By incorporating these landscape photography tips into your practice, you’ll be well on your way to capturing breathtaking images that showcase the beauty of our natural world.
