
One of our Lexar Elite Photographers, Scott Kelby, shares some of his best tips for photographers who are just getting started.
1. Stop Accidentally Erasing Memory Cards
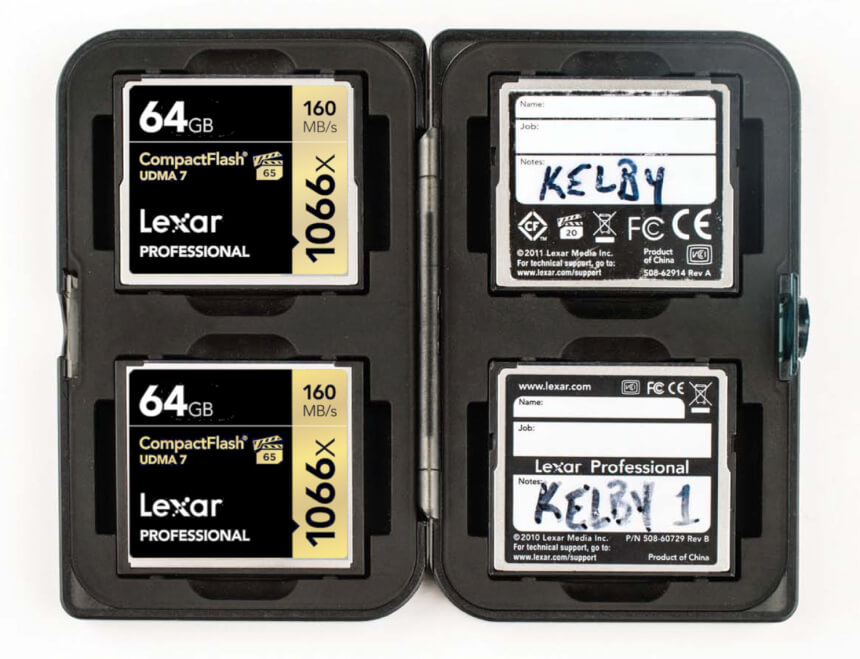
This is a small tip, but one that can save your hide when you’re out shooting in the field. If you keep spare memory cards in a card holder (and for the sake of your cards, I hope you do), there’s a simple routine the pros use to keep track of which cards are full and which cards are empty and available for quick use. They turn the full cards backwards in the case (with the labels facing inward), so they can instantly tell which cards are available for use (the ones with the labels visible) and which ones are full.
Next time you’re shooting in a fast-paced environment (like a wedding or a sporting event), you’ll be glad you adopted this system. Also, if your camera uses SD memory cards, there’s a small switch on the cards themselves that keeps them from being erased, reformatted, or … well … re-anything. So, if you know you’ve got a card of shots that you want to protect, just pop the card out, slide the switch to LOCK, and you’re set.
2. Need to Reformat a Card? Back up 2x First

There’s a rule a lot of photographers (well, paranoid photographers like me, anyway) follow: we don’t erase our memory cards until we absolutely know that we have two copies of our photos elsewhere. For example, when you download your photos to your computer, that’s only one copy, and you shouldn’t re-format your memory card with just this one copy (because when your hard drive crashes one day (notice that I said “when”), all those photos are gone forever. But, once you back up those photos from your computer to a second drive (a backup drive), you’ll have two copies—one set on your computer and one set on your backup drive. Then it’s safe to re-format (erase) your memory card and keep shooting with that card. This is the “Format Memory card” menu from a Nikon camera – you shouldn’t be hanging out in this menu until you know you’ve got two backups.
2. Prevent Vanishing Photos
Manufacturers ship their new cameras set up so that customers can take shots without actually having a memory card in the camera. They do this so that when someone visits a camera store (or Best Buy or Target, etc.), and picks up one of the display cameras, they can actually take a shot and see the image on the display on the back of the camera without actually having a memory card in the camera (because you know there’s no way the salesperson remembers where they put that sample memory card). That’s right – you see a picture on the LCD on the back of the camera, just like always, except those photos vanish into thin air after you turn off the camera because they’re not saved anywhere – because there is no memory card in the camera.
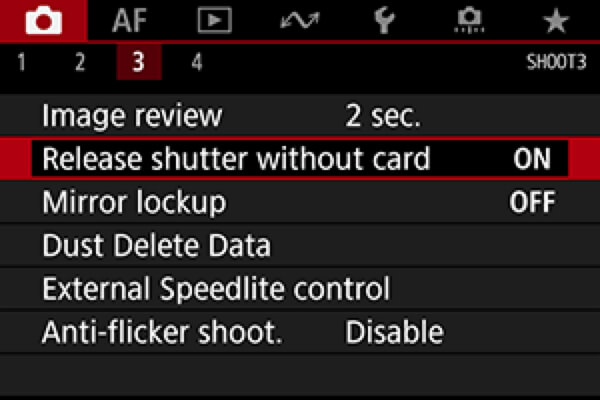
So, the first thing I do with any new camera is turn the memory card lock on, so it won’t even take a shot without a memory card in the camera. Take a look at this menu (from a Canon camera) and you can see “Release shutter without card” is turned on by default. Switch that to “OFF” so it can’t release the shutter without a card. Instead, you’ll get a warning that says something along the lines of, “Hey, there’s no memory card in your camera!” I’d much rather see that warning than do an entire shoot and then realize all the shots are gone. Yes, this happened to me at a portrait shoot and, yes, it only has to happen once, and you’ll rush to turn on that “don’t shoot without a card” setting.
3. Carry Backup Equipment
If you’re doing a shoot that matters, like you’re on vacation in an amazing location or you’re shooting an event like a wedding where there are no re-dos, no “do-overs,” and everything happens just once and you absolutely cannot miss it, make sure you have backups for everything. At the very minimum, you need to have two camera bodies, backup batteries for your camera and your flash. And take more batteries than you think you’ll need if you’re shooting in cold weather because batteries deplete much faster in cold weather.
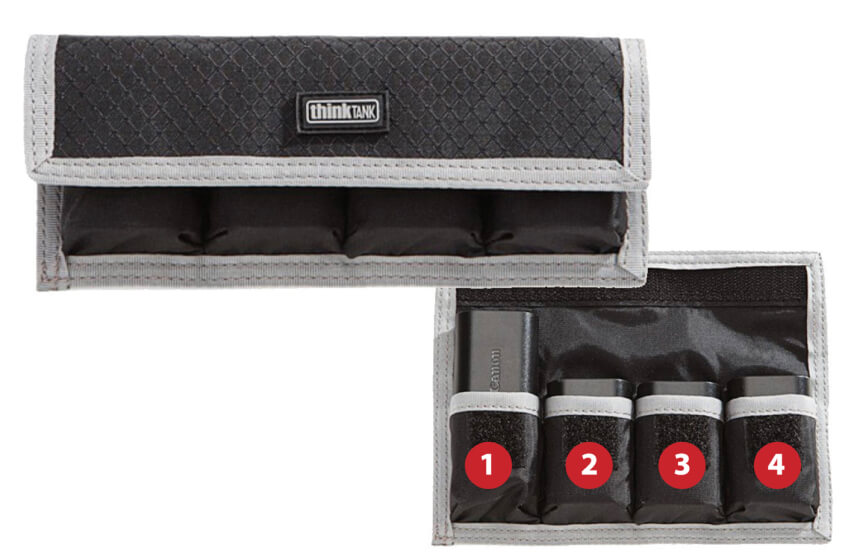
This is my ThinkTank photo battery holder and I do the same thing there I do with my memory card holder. When a battery is dead, I put it in the holder backwards, so I see the back of the battery – that way I know it’s drained, and I don’t wind up replacing a dead battery with another dead battery. If the name of the battery is facing out, I know it’s a fresh battery.
You should also take a backup flash unit (or two) and be sure to have extra memory cards (nothing kills a shoot faster than not being able to take a shot), and even a backup lens (yes, I’ve dropped and broken my one-and-only lens while on vacation). Even if you never have to use any of these backups (and I hope you never have to), I promise they will help you sleep better at night.
4. Know Your Speed Limits
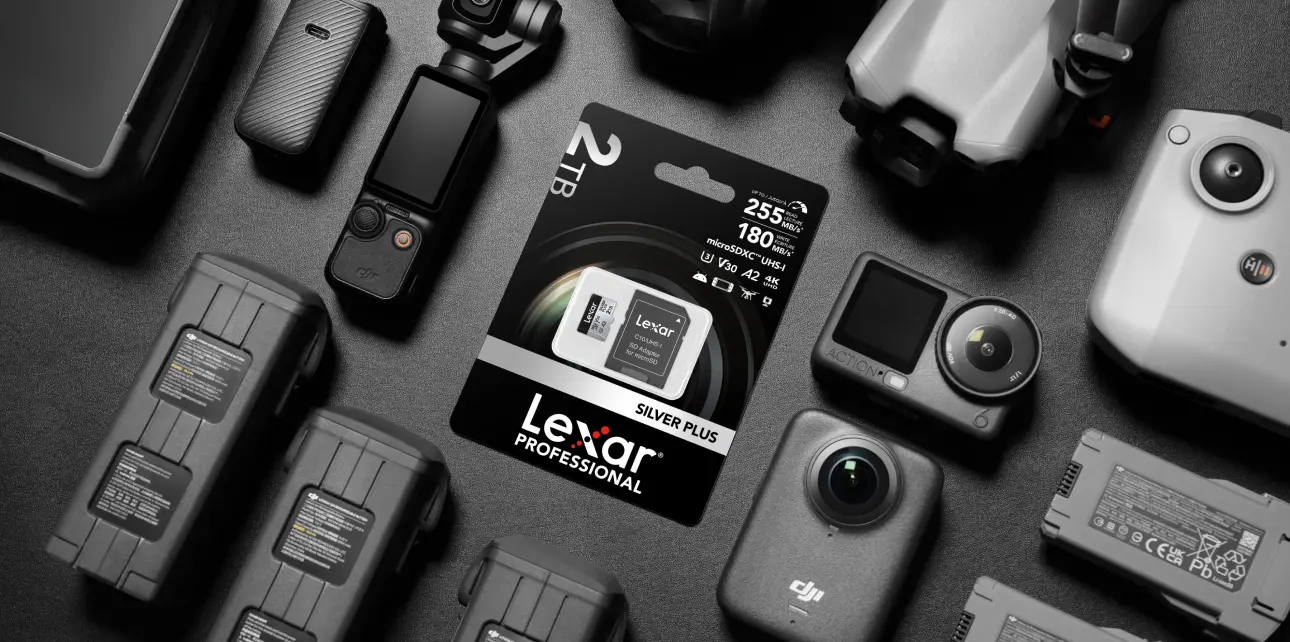
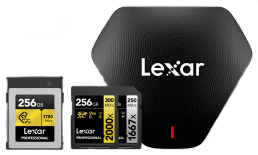
Fast memory cards are necessary for sports shooters and wildlife photographers because we usually shoot in continuous shooting (burst) mode. Faster cards write data faster, so the images leave your camera’s buffer more quickly (leaving room for you to take more continuous shots). If you don’t use a fast enough card in these situations, you may experience that heartbreaking moment when a critical play happens (or an amazing bald eagle flies by), and you’re tracking right along, but then suddenly instead of your camera continuing to burst fire, it starts stuttering with a slow click-click-click while it’s waiting for your images to leave the buffer so it can write to your card. This is why fast cards were born – so you never experience the dreaded click-click-click again. To avoid the slow lane and ensure the fastest capture, I use Lexar Professional 2000x SD Cards GOLD series which features 300MB/s read and 260MB/s write. Plus, their V90 performance is perfect when I want to capture 4K video content.
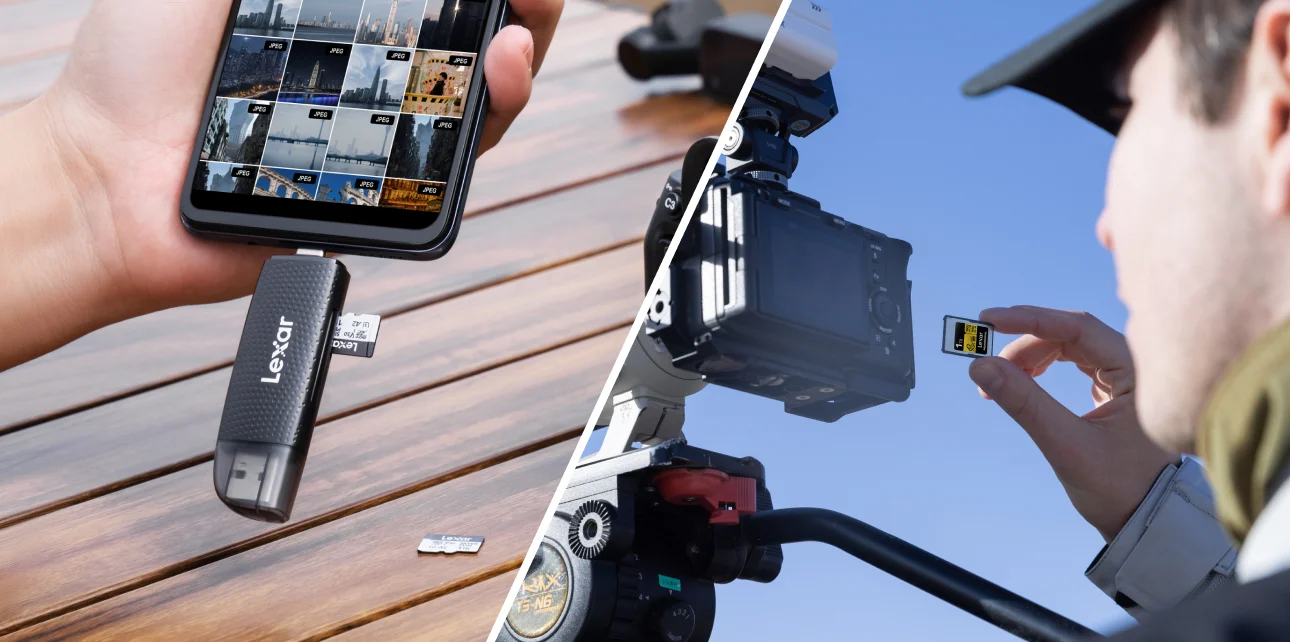
5. Choosing a File Format
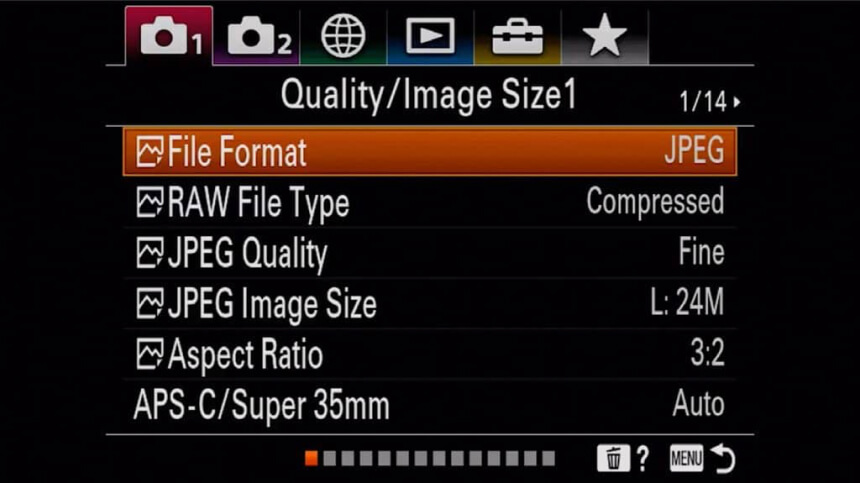
There are technically three file formats you can choose from in most cameras, but quite honestly, nobody uses TIFF anymore, so it’s really down to a choice between JPEG and RAW (You can see the menu from a Sony camera here. I’ve chosen JPEG). Here are some things to help you decide which one is for you.
JPEG Format
JPEG images look better right out of the camera because it processes them for you, adding sharpening, contrast, noise reduction, saturation, and all sorts of processing magic to make your images look good from the start. Another benefit is that the file sizes are drastically smaller because they’re compressed, so more shots fit on your memory card and eventually take up less space on your computer.
RAW Format
When you shoot in RAW, you’re telling your camera “Turn off the sharpening, the contrast, the noise reduction, etc., and just give me the raw photo taken by the sensor.” Your images come out looking very flat (after all, nothing is added in-camera), so you have to add those things yourself in post-processing. So, why do pros choose RAW? Lots of reasons, but the biggest is that they have a much wider tonal range, so you’re starting off with a higher-quality image with smoother transitions between the tones. RAW is also much more forgiving if you didn’t nail the exposure or white balance, and if you have to make some serious adjustments, you’ll see much less degradation compared to a JPEG. Also, rather than having the camera choose how much sharpening, vibrance, etc. to add, you start from scratch and have more control to process the photo the way you want.
Both formats have their pluses and minuses, so which one should you use? If you’re uncomfortable with or don’t like post-processing or just don’t want to take the time, shoot in JPEG. If maximum image quality is your goal and you’re pretty decent at post work, shoot in RAW (I shoot in RAW myself). Neither is wrong, so choose the one that fits you (and don’t let the Internet bully you into shooting in a format that’s not right for you).
Happy Shooting!
Scott