


Getting 40Gbps from a CFexpress 4.0 setup requires five components working together: a CFexpress 4.0 card, a USB 4.0-rated reader, a USB 4.0-certified cable, a USB 4.0 or Thunderbolt 3/4 port on your host machine, and current drivers for your operating system. If you miss any one of them and the connection falls back to a lower USB protocol tier, often without any warning. This guide walks through each component, how to verify it, and how to confirm your setup is actually delivering the speeds you paid for.
Phase 1 – Hardware Verification
Before connecting anything, spend ten minutes confirming that every component in the chain is rated for USB 4.0. This is the most skipped step and the source of most CFexpress transfer optimization problems.
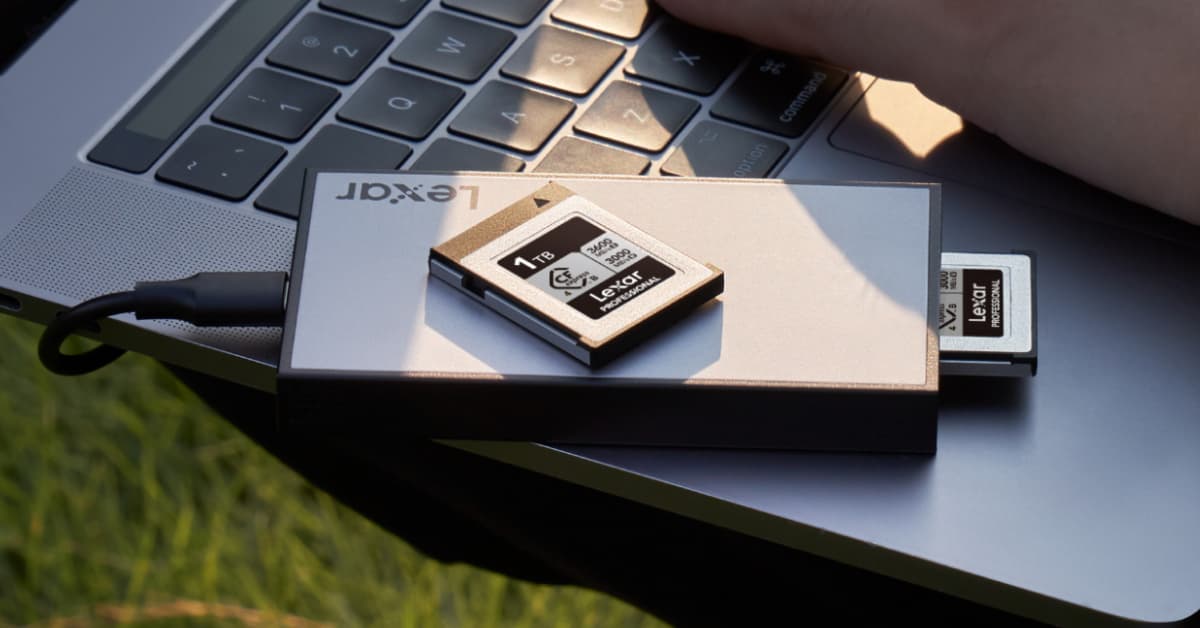
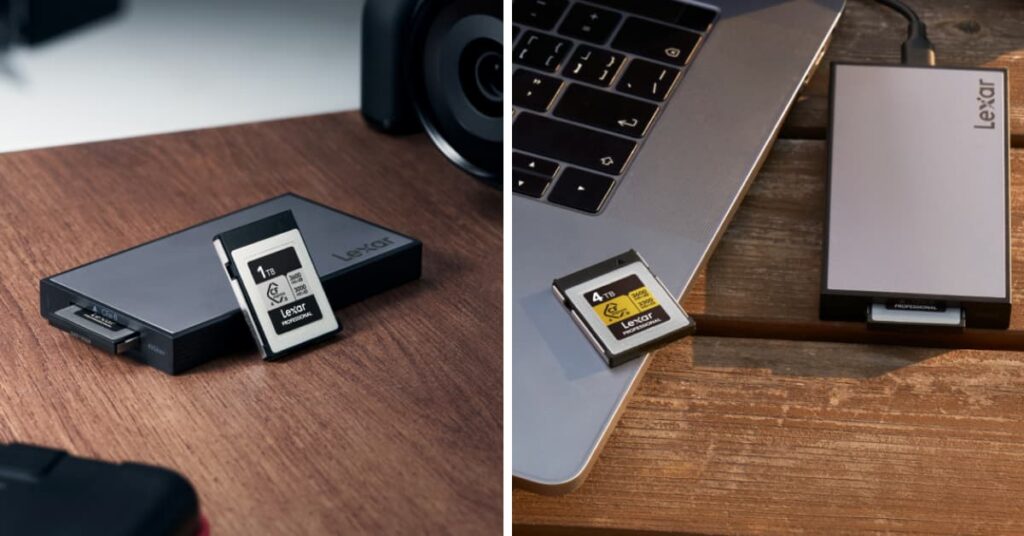
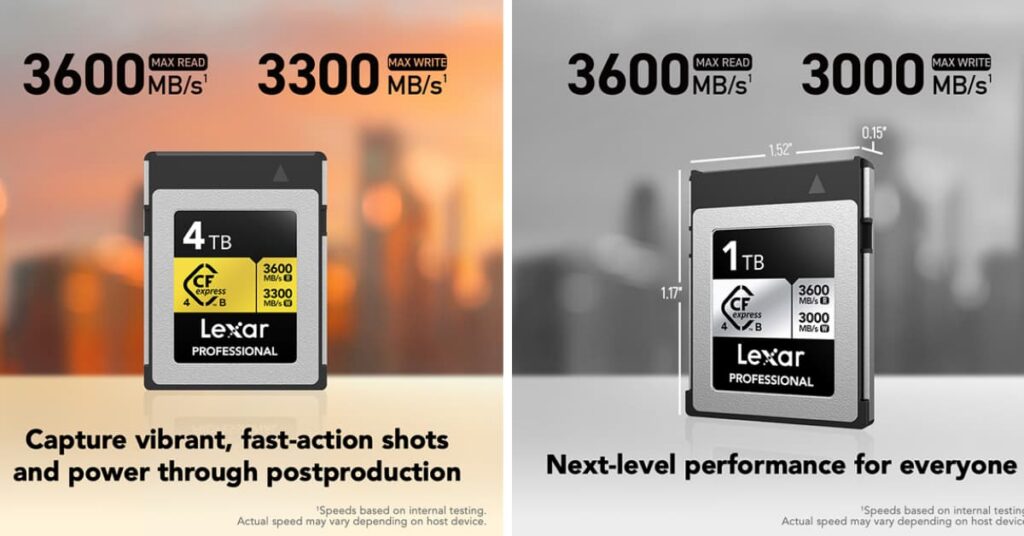
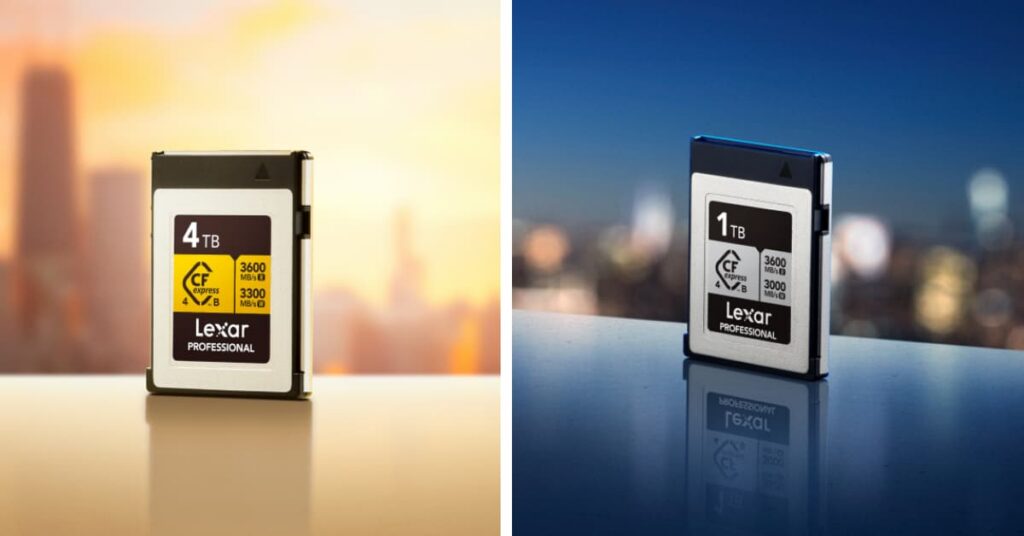
- Verify your CFexpress 4.0 card. Look for the USB 4.0 logo, a boxed USB symbol – on the card itself. For Lexar cards, the Lexar® Professional GOLD CFexpress™ 4.0 Type B Card and Lexar® Professional SILVER CFexpress™ 4.0 Type A Card both carry this marking. If you don’t see it on the card, the card is not rated for USB 4.0 transfer speeds through a USB 4.0 reader. The card format (Type A or Type B) must also match your reader physically – these are not interchangeable.
- Verify your reader. Not all CFexpress readers support USB 4.0. The Lexar® Professional Workflow CFexpress™ 4.0 Type A Card Reader and Lexar® Professional Workflow CFexpress 4.0™ Type B Card Reader are both rated for speeds up to 40Gbps. A CFexpress reader rated for USB 3.2 will cap at 10Gbps regardless of the card inserted. Check your reader’s product page and look for explicit USB 4.0 or 40Gbps ratings.
- Verify your cable. This is the most overlooked component. USB-C cables are not created equal, and a USB 3.2 cable plugged into a USB 4.0 reader will immediately drop the connection to USB 3.2 speeds. A USB 4.0 cable must be explicitly labeled as USB 4.0 or 40Gbps rated. Passive USB 4.0 cables work up to 0.8 meters. For cables longer than 0.8 meters, you need an active USB 4.0 cable. The cable included with Lexar’s CFexpress 4.0 readers is USB-C to USB-C. Verify the rating before substituting a different cable.
- Verify your port. USB-C ports are on most modern laptops and desktops, but not all USB-C ports support USB 4.0. Thunderbolt 3 and Thunderbolt 4 ports are USB 4.0-compatible. USB 3.2 ports with USB-C connectors are common on mid-range laptops and will limit speeds to 10Gbps. On Windows, right-click the Start button, open Device Manager, and expand “Universal Serial Bus controllers.” USB 4.0 ports appear as “USB4 Host Router” or list Thunderbolt explicitly. On Mac, go to Apple menu > About This Mac > System Report > USB, and look for USB4 or Thunderbolt in the interface description.
- Verify your destination drive. Even with a 40Gbps reader, transfers cap at the write speed of wherever files are going. Writing to a spinning hard drive or older SATA SSD will bottleneck at that drive’s maximum write speed, not the reader’s capability. For CFexpress 4.0 transfer optimization, write to an NVMe SSD capable of 3000MB/s or higher write speeds.
Phase 2 – Connection Setup
Hardware verified. Now connect properly – sequence matters more than most setups account for.
- Connect reader to port before inserting the card. Plug the reader into the USB4 or Thunderbolt port first. Give the operating system 10 to 15 seconds to recognize and enumerate the device. This lets the USB4 protocol handshake complete before a card is present, reducing the chance of a fallback to a lower speed tier.
- Check reader recognition before inserting card. On Windows, open Device Manager and confirm the reader appears under USB controllers or storage devices. On Mac, open System Report under USB and verify the reader shows its full device name. If the reader isn’t visible, the cable or port is the issue, not the card.
- Insert the CFexpress card firmly and fully. CFexpress Type A and Type B cards are directional. A partial insertion or incorrect orientation causes recognition failures that look like driver problems. Insert until you hear a light click and the card is flush with the reader housing.
- Wait for the card to mount before initiating any transfer. Rushing a file copy before the card fully mounts can cause incomplete file detection and failed transfers. On Windows, watch for the card to appear in File Explorer. On Mac, wait for the volume to appear on the Desktop or in Finder.
Phase 3 – Driver Installation by Platform
Drivers are the invisible variable most creators skip, then wonder why speeds are inconsistent. The right driver state looks different depending on your operating system.
Windows 10 and 11: Windows 11 includes native USB 4.0 class drivers that handle most USB 4.0 connections without additional installation. However, if your USB 4.0 controller uses an ASMedia chipset (common in many motherboards and laptops), download the ASMedia USB4 driver package directly from your motherboard manufacturer’s support page or from ASMedia’s official drivers. Install by right-clicking the .inf file and selecting “Install,” or run the included install script as administrator. Restart after installation. For Intel Thunderbolt controllers, Intel’s Thunderbolt software and driver package provides the most stable USB 4.0 performance on Windows. Verify driver installation by opening Device Manager and checking that no yellow exclamation marks appear under USB controllers.
macOS: Apple Silicon Macs (M1 and later) and Intel Macs with Thunderbolt 3 or 4 ports do not require additional driver installation for USB 4.0 devices. macOS includes native support. If a reader fails to appear, reset the SMC on Intel Macs (shutdown, then hold Shift+Control+Option+Power for 10 seconds) or restart the Mac with the reader disconnected and reconnect after boot. Keep macOS up to date – Support in macOS stabilized in macOS 12 Monterey and later releases.
Linux: USB4 support is included in the Linux kernel from version 5.6 onward. Run uname -r in Terminal to verify your kernel version. Most distributions running a kernel from 2022 or later have adequate USB4 support. Use lsusb after connecting the reader to confirm it’s recognized.
For transfer speed verification on Linux, the dd command provides reliable sequential read measurement: dd if=/dev/sdX bs=1M count=4096 of=/dev/null where sdX is your card device identifier.
Phase 4 – Speed Testing and Verification
This is how you confirm your setup is actually delivering 40Gbps, not just connected and appearing to work.
- Windows – CrystalDiskMark: Download CrystalDiskMark from the official site at crystaldiskmark.org. Launch as Administrator. Select your mounted CFexpress card from the drive dropdown. Set test size to 4 GiB and run the Sequential Q8T1 test. A USB 4.0-connected CFexpress 4.0 Type B card should show sequential read speeds above 2500MB/s. Speeds below 1000MB/s indicate a USB protocol fallback to USB 3.2 or lower.
- Mac – Blackmagic Disk Speed Test: Download free from the Mac App Store. Open the app, click the Settings icon, and select your mounted CFexpress card volume. Click Start. A properly connected CFexpress 4.0 setup should register read speeds above 2500MB/s. This tool is particularly useful for video professionals because it reports whether a drive can sustain the throughput required for specific video formats.
- Windows/Linux – Blackmagic Disk Speed Test via Desktop Video: On Windows, download and install the Blackmagic Desktop Video package from Blackmagic Design’s support page (no Blackmagic hardware required). The Disk Speed Test application is included and runs the same test as the Mac version.
- Interpret your results. Sequential read speeds of 2500MB/s – 3600MB/s indicate a properly functioning USB 4.0 connection to a CFexpress 4.0 Type B card. For Type A cards, expect sequential reads of 1400MB/s – 1750MB/s at USB 4.0. Speeds in the 900MB/s – 1100MB/s range indicate a USB 3.2 Gen 2×2 connection (20Gbps). Speeds of 500MB/s – 900MB/s suggest USB 3.2 Gen 2 (10Gbps). Below 500MB/s points to USB 3.1 or USB 3.0 fallback.
Phase 5 – Troubleshooting Common Bottlenecks
When speed test results come back lower than expected, work through this diagnostic sequence rather than replacing components randomly.
CFexpress Transfer Speed Diagnostic Flowchart
Getting under 1000MB/s? Start here:
- Is the destination drive an NVMe SSD? If writing to HDD or SATA SSD – that drive is the bottleneck. Test reads only.
- Is the cable labeled USB 4.0 or 40Gbps? If not, replace the cable and retest.
- Does the port show as USB4 Host Router in Device Manager (Windows) or USB4 in System Report (Mac)? If not – the port is USB 3.2 or lower. Use a different port.
- Is the reader a USB 4.0-rated reader? If not, the reader caps at its rated speed regardless of card.
- Are USB 4.0 drivers current? If not, update via Device Manager or manufacturer support page and restart.
Slow transfer diagnosis. If transfers show correct speed in benchmarks but slow during actual file copies, the issue is usually file system overhead from many small files rather than a USB 4.0 connection problem. Copy large video files first to confirm the connection is functioning, then copy photo bursts with smaller individual file sizes. The per-file overhead of thousands of JPEGs or RAW files creates an apparent slowdown that isn’t a hardware issue.
Cable quality verification. A reliable way to check whether the cable is the bottleneck without buying another cable: run the speed test, then swap in a Thunderbolt 3 or Thunderbolt 4 cable (if you have one available). Thunderbolt cables are USB 4.0-compatible at 40Gbps. If speeds jump with the Thunderbolt cable, your original cable was not USB 4.0-rated regardless of labeling.
Port identification on mixed-port machines. Many laptops have one or two Thunderbolt/USB 4.0 ports alongside multiple USB 3.2 ports, all with USB-C connectors. On Windows, hover over each USB-C port entry in Device Manager to see speed tier labeling. On Mac, System Report under Thunderbolt/USB4 lists each port separately with its protocol. On most MacBook Pro and MacBook Air models with Apple Silicon, all USB-C ports are USB 4.0. On Windows laptops, confirm with your machine’s spec sheet – the USB 4.0 port is typically the one shared with Thunderbolt functionality and marked with a lightning bolt or “TB” label near the port.
System Requirements Summary by Platform
| Requirement | Windows | macOS | Linux |
| OS Version | Windows 10 64-bit or later | macOS 12 Monterey or later | Kernel 5.6 or later |
| Port Requirement | USB4 or Thunderbolt 3/4 | Thunderbolt 3/4 or USB4 | USB4 host controller |
| Driver Source | Windows Update or ASMedia/Intel site | Native (no install needed) | Kernel 5.6+ (native) |
| Speed Test Tool | CrystalDiskMark | Blackmagic Disk Speed Test | dd command |
| Expected Read (Type B) | 2500MB/s – 3600MB/s | 2500MB/s – 3600MB/s | 2500MB/s – 3600MB/s |
| Expected Read (Type A) | 1400MB/s – 1750MB/s | 1400MB/s – 1750MB/s | 1400MB/s – 1750MB/s |
A fully verified USB 4.0 CFexpress setup is not complicated – but it requires every link in the chain to be confirmed, not assumed. The five-component checklist at the top of this guide catches the vast majority of setup issues before they happen. The speed testing procedure confirms the setup is working at its rated bandwidth. And the troubleshooting flowchart identifies the specific component to address when results fall short.
Once your CFexpress transfer optimization setup is confirmed and running at full 40Gbps, the next step is building a backup workflow that protects everything you’re capturing at that speed. See our professional backup workflow guide for a complete post-production protection system. And if you’re still weighing whether the CFexpress 4.0 investment makes financial sense for your shooting volume, the CFexpress 4.0 ROI breakdown covers that calculation in detail.
Explore the full Lexar CFexpress 4.0 reader lineup including the Lexar® Professional Workflow CFexpress™ 4.0 Type A Card Reader and Lexar® Professional Workflow CFexpress 4.0™ Type B Card Reader today.