
A new SSD won’t necessarily be ready for immediate use out of the box. To make an SSD functional, you’ll need to initialize it—a straightforward process that prepares your SSD for storage and file transfers. Whether you’re setting up an internal SSD for gaming or configuring a portable SSD for backups, proper initialization is the first step in maximizing performance and reliability.
Learning how to initialize SSD ensures you can unlock the full potential of your new drive. With this guide, you’ll get a step-by-step walkthrough of the initialization process, ensuring your SSD is properly configured and ready for use on your computer or gaming system.
Why Do You Need to Learn How to Initialize SSD?
Initialization is a necessary step for any new SSD. It involves setting up the drive’s partition table so that your operating system can recognize and manage it. Without this process, the SSD will appear as unallocated space, and you won’t be able to store data or install applications.
Initializing an SSD helps anyone:
- Create a file system to enable data storage and prepare the drive for use.
- Make the SSD recognizable to your operating system and ensure compatibility.
- Divide the SSD into usable partitions if needed.
How to Initialize an SSD on Windows
Initializing an SSD in Windows is a simple process using the built-in Disk Management tool. Follow these steps:
- Connect the SSD
- For internal SSDs, install the drive into your PC or laptop by inserting it into the appropriate slot and connecting the necessary cables.
- For portable SSDs, connect the drive via a USB or Thunderbolt port.
- Open Disk Management
- Press Win + X and select Disk Management from the menu.
- Locate the New SSD
- Look for the unallocated drive labeled Unknown or Not Initialized.
- Right-Click and Initialize
- Right-click the SSD and select Initialize Disk.
- Choose Partition Style
- Select one of the following:
- GPT (GUID Partition Table): Recommended for modern systems and drives larger than 2 TB.
- MBR (Master Boot Record): Compatible with older systems but limited to 2 TB drives.
- Select one of the following:
- Confirm and Complete
- Click OK to initialize the SSD. The drive is now ready for formatting and partitioning.


How to Initialize an SSD on macOS
Mac users can initialize their SSDs using the Disk Utility application. Here’s how:
- Connect the SSD
- Install the internal SSD or connect the portable SSD via USB/Thunderbolt.
- Open Disk Utility
- Press Cmd + Space, type Disk Utility, and press Enter.
- Select the SSD
- Locate the new SSD in the left-hand sidebar under External or Internal.
- Erase and Format
- Click on the SSD, then select Erase.
- Choose a format:
- APFS: Best for macOS High Sierra or later.
- Mac OS Extended (Journaled): For older macOS versions.
- Click Erase
- Confirm the action and the SSD will be initialized and formatted.
Common Issues When Initializing an SSD
Sometimes, issues arise during the initialization process. Here are some common problems and solutions:
- SSD Not Detected:
- Ensure the SSD is properly connected and visible in BIOS (for internal drives).
- Try reconnecting the drive or using a different USB port for portable SSDs.
- Incorrect Partition Table:
- If you selected MBR instead of GPT for a drive larger than 2 TB, reinitialize the SSD with the correct partition style.
- Drive Still Unallocated After Initialization:
- Format the drive to create a usable partition.
- Error Messages During Initialization:
- Update your motherboard drivers or storage controller firmware to resolve compatibility issues.
Tips for Optimizing Your SSD After Initialization
After initializing your SSD, there are several ways to optimize it for long-term performance:
- Enable TRIM: Ensure your operating system supports TRIM to maintain SSD health and speed.
- Partition Wisely: Divide the SSD into logical partitions based on your needs, such as separating work files from personal data.
- Update Firmware: Check the SSD manufacturer’s website for the latest firmware updates.
- Monitor Drive Health: Use tools like CrystalDiskInfo to track the SSD’s performance and health over time.
When Should You Reinitialize an SSD?
Reinitialization is rarely required but may be necessary in certain situations:
- Corrupted File System: If the SSD’s file system is damaged, reinitialization can restore it to working order.
- Switching Operating Systems: Changing from Windows to macOS or vice versa may require reinitialization to set the correct file system.
- Repurposing the SSD: When using the SSD for a new device, reinitialization ensures compatibility.
Note: Reinitializing erases all data on the drive, so back up important files beforehand.
What to Do After Initializing Your SSD
Once your SSD is initialized, it’s ready for formatting, partitioning, and use. Here’s what to do next:
- Format the SSD:
- Choose a file system based on your needs (e.g., NTFS for Windows, APFS for macOS).
- Install Your OS:
- For internal SSDs, install an operating system to take full advantage of the drive’s speed.
- Store and Manage Files:
- Begin transferring files, installing applications, or creating backups on the SSD.
- Optimize Settings:
- Configure your system to use the SSD for high-demand applications or as the primary storage drive.


Formatting an Initialized SSD for Different Use Cases
Once your SSD is initialized, the next step is formatting it for its intended use. The file system you choose impacts compatibility and performance. Here’s how to format your SSD based on specific needs:
- For Windows Users:
- Use NTFS (New Technology File System) for maximum compatibility with Windows applications and large file support.
- For portable SSDs shared between devices, FAT32 or exFAT may be better options due to their cross-platform compatibility.
- For macOS Users:
- Use APFS for modern macOS systems, as it provides faster read/write speeds and enhanced data encryption.
- For compatibility with older macOS versions, choose Mac OS Extended (Journaled).
- For Gaming Consoles:
- Many consoles, such as PlayStation or Xbox, will prompt you to format the SSD automatically when it’s connected. Follow the console-specific instructions for best results.
Why Partitioning an SSD Can Be Useful
Partitioning your SSD allows you to divide it into multiple sections, each functioning as its own independent drive. This can be particularly helpful for organizing data or managing multiple operating systems.
- Benefits of Partitioning:
- Keep work files and personal data separate.
- Allocate space for multiple operating systems.
- Simplify backups and file organization.
- Steps to Partition Your SSD:
- Open Disk Management (Windows) or Disk Utility (macOS).
- Select the initialized SSD and choose the Partition option.
- Assign sizes to each partition based on your needs.
- Format each partition with the desired file system.
How to Initialize and Format an SSD for Specific Devices
Different devices may have unique requirements for initializing and formatting SSDs. Here are some device-specific tips:
- Laptops and Desktops:
- Ensure compatibility by checking your device’s user manual for supported SSD types and interfaces.
- Use GPT for modern systems and larger drives.
- Portable SSDs for Backup:
- Format using exFAT for maximum compatibility across Windows and macOS.
- Label the SSD clearly to distinguish it from other drives in your workflow.
- Gaming Consoles:
- Most gaming consoles will initialize and format the SSD automatically. Ensure you back up important files before connecting the SSD for use.


Troubleshooting Tips for SSD Initialization Issues
Occasionally, issues arise during initialization. Here’s how to resolve some common problems:
- SSD Not Showing in Disk Management:
- Check physical connections for internal SSDs, ensuring the drive is properly seated.
- Try a different port or cable for portable SSDs.
- Drive Won’t Initialize:
- Restart your computer and try initializing again.
- Use third-party disk management tools if the default options fail.
- Partition Style Error:
- If prompted to choose between GPT and MBR but unsure which to use, select GPT for drives larger than 2 TB or systems with UEFI firmware.
- Initialization Stuck or Crashes:
- Update your system drivers and ensure your operating system is up to date.
- Check for SSD firmware updates from the manufacturer.
Maximizing SSD Performance Post-Initialization
After your SSD is initialized and formatted, optimize its performance with these tips:
- Enable AHCI Mode:
- This setting, found in your system BIOS, ensures your SSD operates at peak speed.
- Turn Off Indexing (Windows):
- Disable indexing to reduce unnecessary write operations and prolong your SSD’s lifespan.
- Monitor SSD Health:
- Use tools like Samsung Magician or CrystalDiskInfo to track performance and check for errors.
- Set the SSD as Primary Storage:
- For internal SSDs, move frequently used files, applications, or your operating system to the SSD for faster access.
Learn How to Initialize SSD for Peak Performance
Now that you know how to initialize SSD, you’re ready to resolve common issues and optimize your setup. With your SSD ready to go, you’ll enjoy faster speeds, greater storage efficiency, and a seamless computing experience.
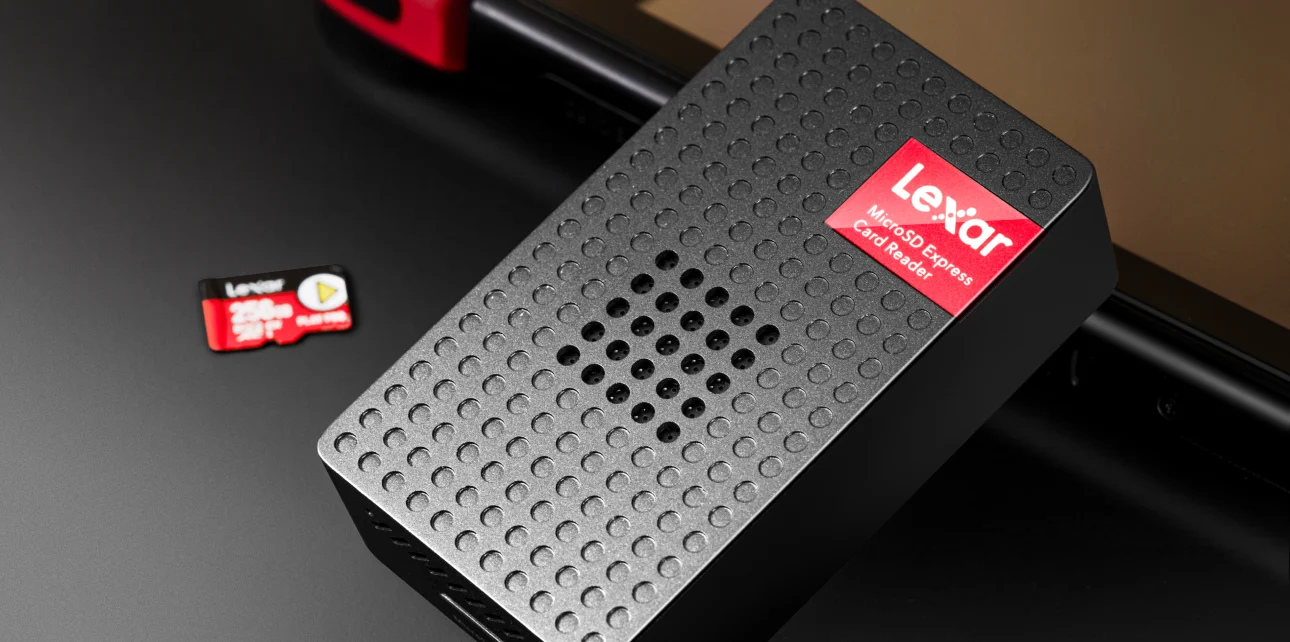
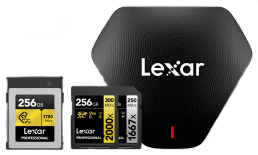
When you’ve got high-performance SSD options like those from Lexar, you have the storage solutions to meet your demands. Explore our product suite to find the best solution for your next project.