Upgrading your gaming PC with a solid-state drive (SSD) is one of the most impactful changes you can make. SSDs offer faster load times, improved game performance, and increased storage capacity, ensuring a smoother and more enjoyable playing experience.
Whether you’re installing a new SSD or replacing an old hard drive, this guide will walk you through the entire process of how to install an SSD in your gaming PC.
Why Upgrade to an SSD?
Before diving into the installation process, let’s explore the key benefits of upgrading to an SSD:
1. Faster Load Times
SSDs provide significantly faster read/write speeds than traditional hard drives (HDDs), reducing boot times and loading screens.
2. Improved Gaming Performance
Many modern games benefit from the faster data access SSDs offer, resulting in reduced texture pop-ins and smoother gameplay.
3. Enhanced Durability
SSDs have no moving parts, making them more resistant to physical damage and wear compared to HDDs.
4. Energy Efficiency
SSDs consume less power than HDDs, which can contribute to a quieter and cooler PC.
5. Faster System Responsiveness Across the Board
From launching applications to multitasking and file transfers, SSDs make your entire system feel snappier and more responsive—no lag, no waiting. It’s a full system upgrade, not just storage.
Types of SSDs for Gaming PCs
Understanding the different types of SSDs helps you choose the right one for your system.
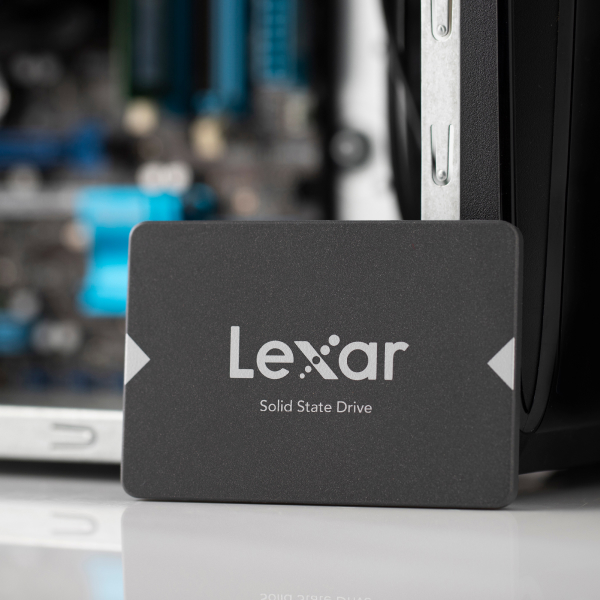
1. SATA SSDs
- Interface: Connect via SATA cables and ports.
- Speed: Speeds of up to 600MB/s, suitable for general gaming needs.
- Use Case: Ideal for an initial upgrade from an HDD or as secondary storage.
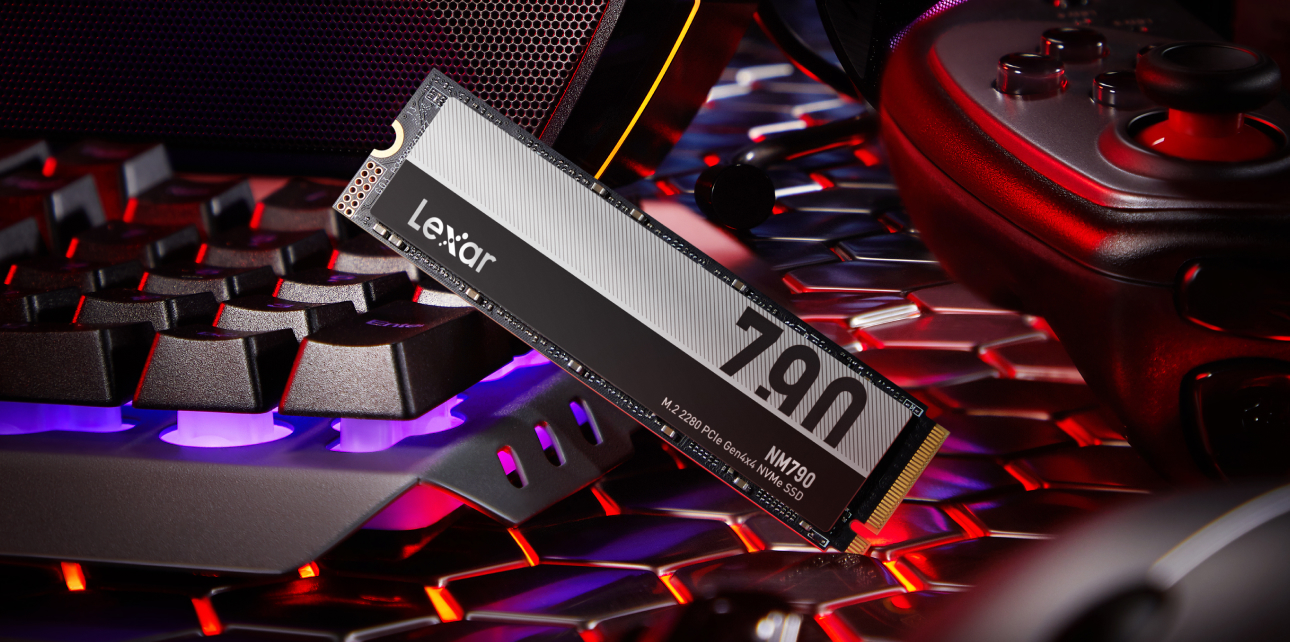
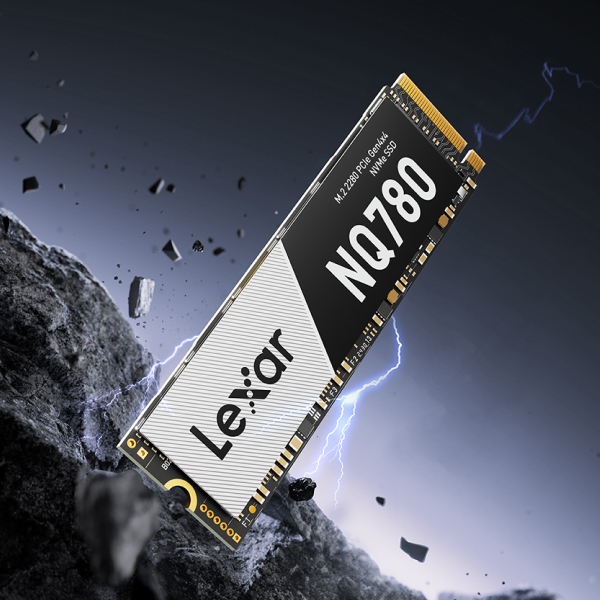
2. NVMe SSDs
- Interface: Use the PCIe (Peripheral Component Interconnect Express) interface.
- Speed: Up to 7,000MB/s for high-end models, offering exceptional performance.
- Use Case: Perfect for modern gaming PCs that require high capacities and fast data access for demanding games.
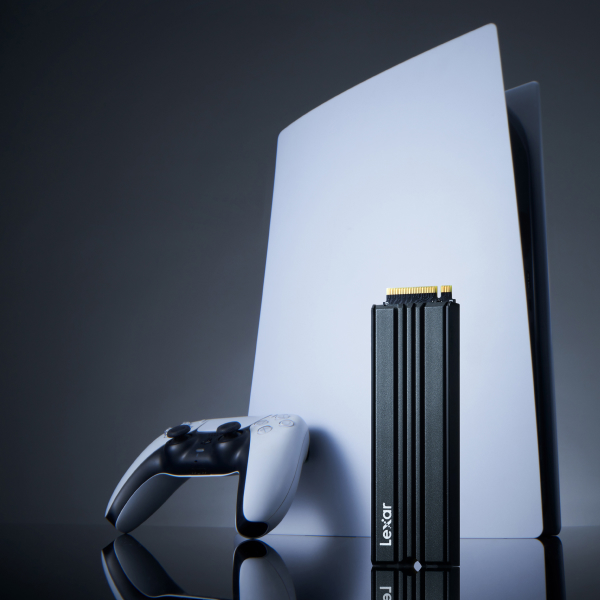
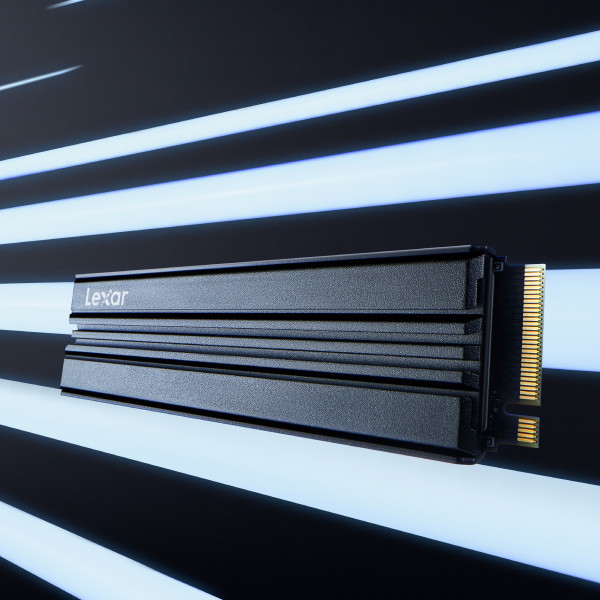
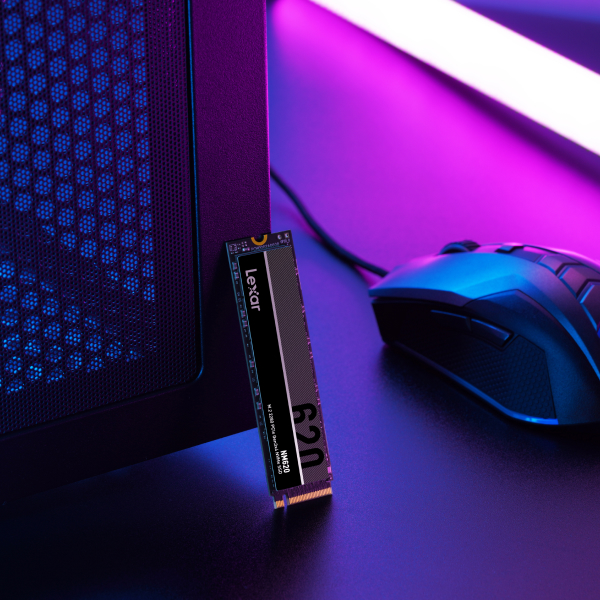
3. M.2 SSDs
- Form Factor: Compact, designed to fit directly onto the motherboard.
- Variants: Available as SATA or NVMe.
- Use Case: Ideal for builds where space is limited or cable management is a priority.
Pro Tip: Check your motherboard’s specifications to determine which SSD types it supports before purchasing.
Tools and Preparation
Tools You’ll Need
- A compatible SSD (SATA or M.2).
- A Phillips-head screwdriver.
- Anti-static wrist strap to prevent electrostatic discharge.
- SATA cables (if using a SATA SSD and not included with your drive).
Backup Your Data
If you’re replacing an existing drive, back up all important data to an external drive or cloud storage to avoid data loss.
Update Your System BIOS
Ensure your motherboard BIOS is updated to the latest version for compatibility with modern SSDs, particularly NVMe models.
How to Install an SSD: SATA
SATA SSDs are straightforward to install and are compatible with most systems.
1. Shut Down and Disconnect Power
- Turn off your PC and unplug the power cable.
- Press and hold the power button for a few seconds to discharge residual electricity.
2. Open Your PC Case
- Remove the side panel of your PC case using the Phillips-head screwdriver.
- Ground yourself by wearing an anti-static wrist strap or touching a grounded metal surface.
3. Mount the SSD
- Locate an empty 2.5-inch drive bay.
- Secure the SSD using screws or brackets, depending on your case design.
4. Connect Cables
- Attach a SATA data cable to the SSD and connect the other end to a SATA port on the motherboard.
- Plug a SATA power connector from the power supply into the SSD.
5. Reassemble and Boot Up
- Close the PC case and reconnect the power cable.
- Power on the system and proceed to formatting the SSD.
How to Install an M.2 SSD
M.2 SSDs are compact and mount directly onto the motherboard, offering a cleaner installation.
1. Locate the M.2 Slot
- Consult your motherboard manual to identify the M.2 slot location.
2. Prepare the Slot
- Remove the mounting screw from the M.2 slot using the Phillips-head screwdriver.
3. Insert the SSD
- Align the connector pins on the SSD with the slot.
- Insert the SSD at a slight angle and gently push it down into place.
4. Secure the SSD
- Replace the mounting screw to secure the SSD to the motherboard.
5. Enable in BIOS
- Restart your PC and enter the BIOS setup (usually by pressing Del or F2 during boot).
- Ensure the SSD is recognized and set as the boot drive if needed.
Formatting Your New SSD
After installation, the SSD must be formatted before it’s ready for use:
1. Open Disk Management (Windows)
- Press Win + X and select Disk Management.
2. Initialize the Drive
- Right-click the new SSD and select Initialize Disk.
- Choose a partition style (GPT is recommended for modern systems).
3. Create a New Volume
- Right-click the unallocated space and select New Simple Volume.
- Follow the prompts to assign a drive letter and format the drive.
Optimizing SSD Performance
To get the most out of your SSD, follow these optimization tips:
1. Enable AHCI Mode
Ensure the BIOS is set to AHCI mode for improved performance and compatibility.
2. Enable TRIM
TRIM improves SSD longevity by optimizing how data is erased and written. Windows 10 and later enable TRIM automatically.
3. Disable Disk Defragmentation
Defragmenting an SSD is unnecessary and can reduce its lifespan. Use optimization tools designed for SSDs instead.
4. Keep Firmware Updated
Check the manufacturer’s website for firmware updates that enhance performance and compatibility.
Troubleshooting Common Issues
If your SSD isn’t working as expected, consider these solutions:
1. Drive Not Detected
- Check all cable connections and ensure the SSD is properly seated.
- Update the motherboard BIOS and SATA/NVMe drivers.
2. Slow Performance
- Verify that the SSD is connected to the correct SATA or PCIe port for optimal speeds.
- Ensure no resource-intensive background processes are running.
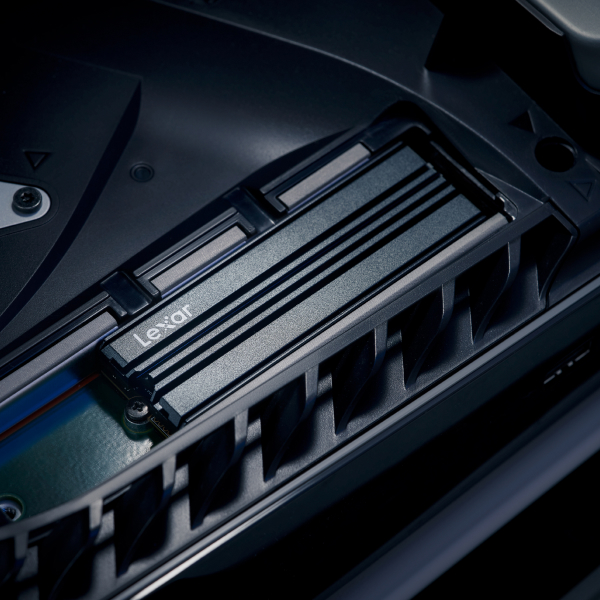
3. Overheating
- Install a heatsink on your M.2 SSD if it tends to overheat during extended use.
Comparing SSDs: Internal vs. External for Gaming PCs
When upgrading your gaming PC, you may wonder whether to choose an internal or external SSD. Both options have unique advantages and cater to different needs.
Internal SSDs
- Advantages:
- Directly connected to the motherboard, offering faster data transfer speeds.
- Ideal for running operating systems and high-performance games.
- Supports NVMe and SATA models for flexibility in performance and budget.
- Considerations:
- Requires installation, which may not be suitable for users unfamiliar with PC hardware.
External SSDs
- Advantages:
- Portable and easy to use with plug-and-play functionality.
- Perfect for storing a large game library or transferring data between devices.
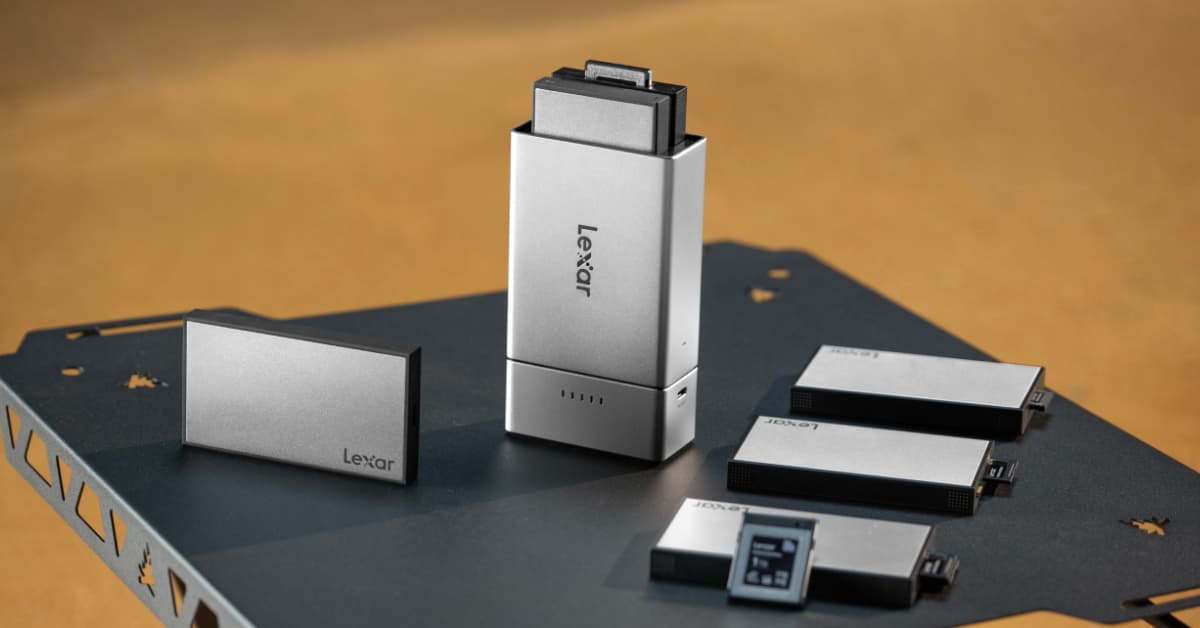
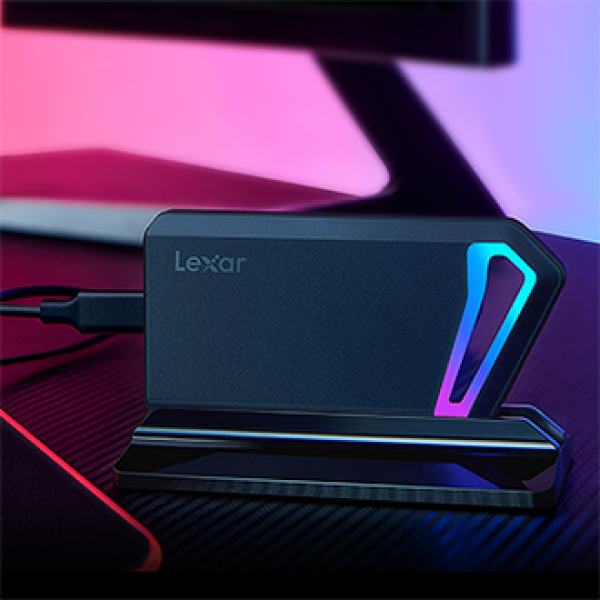
- Models like the Lexar Portable SSD offer durability and high-speed performance.
- Considerations:
- External drives are slightly slower than internal SSDs due to USB interface limitations.
Conclusion: Choose internal SSDs for performance-critical tasks and external SSDs for flexibility and portability.
When to Upgrade Your SSD: Signs It’s Time
If you’re unsure whether you need to upgrade your SSD, look out for these common signs:
1. Running Out of Storage
A filled drive impacts system performance and limits your ability to install new games or software.
2. Slower Load Times
Older or budget SSDs may struggle with modern game requirements, leading to noticeable delays.
3. Frequent Freezing or Crashing
As SSDs wear out over time, degraded performance can cause instability in your system.
4. Outdated Technology
If your current drive doesn’t support NVMe or is limited in capacity, upgrading ensures compatibility with future software and hardware.
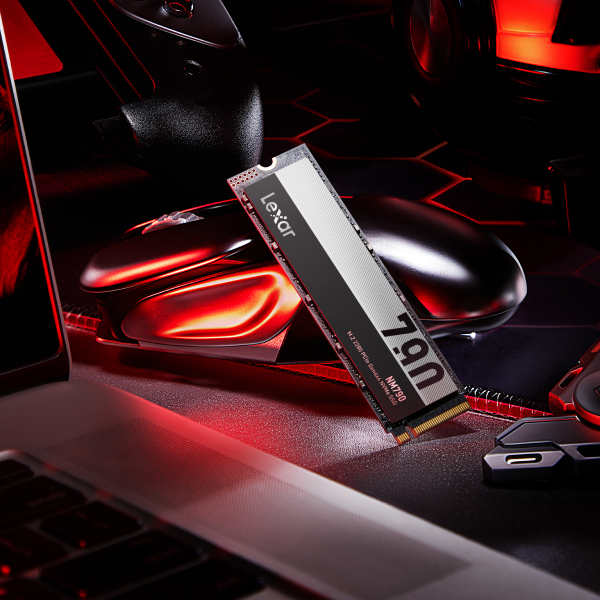
Pro Tip: If you’re experiencing these issues, consider upgrading to a high-performance SSD like the Lexar NM800PRO.
Exploring Dual-Drive Setups: SSD + HDD
Many gamers opt for a dual-drive setup to combine the best of SSD and HDD storage. Here’s how it works:
SSD for Speed
- Install your operating system and frequently played games on the SSD to benefit from faster load times and seamless performance.
HDD for Capacity
- Use the HDD for bulk storage, such as game backups, media files, and less frequently accessed data.
Benefits:
- Optimizes cost by balancing performance and storage capacity.
- Provides ample space for large game libraries without compromising speed for critical applications.

Factors to Consider Before Upgrading Your SSD
Before installing a new SSD, take these considerations into account to ensure compatibility and value:
1. Motherboard Support
Check your motherboard’s specifications for supported SSD types (SATA or NVMe) and available slots.
2. Gaming Needs
Evaluate your gaming habits to determine the required capacity. Heavy gamers should aim for at least 1TB to avoid frequent uninstalling and reinstalling games.
3. Budget
Set a realistic budget and prioritize features like speed and capacity that align with your gaming requirements.
4. Power Supply Compatibility
Ensure your power supply can handle additional drives if you’re adding multiple SSDs.
Future Trends in SSD Technology for Gamers
SSD technology is rapidly evolving, offering exciting possibilities for gaming enthusiasts:
1. PCIe Gen 5 SSDs
- The next generation of SSDs promises even faster read/write speeds, enhancing game performance and load times.
2. Enhanced Durability
- Future SSDs are expected to feature improved endurance, ensuring longer lifespans for heavy gaming use.
3. Larger Capacities
- Terabyte-level SSDs are becoming more affordable, making high-capacity drives accessible to a broader audience.
4. Integrated Heatsinks
- Built-in cooling solutions for high-performance NVMe SSDs are becoming standard, preventing thermal throttling during extended gaming sessions.
Pro Tip: Stay ahead by investing in future-ready SSDs like those from Lexar’s Professional SSD lineup.

The Benefits of Upgrading Your Gaming PC with an SSD
An SSD upgrade transforms your gaming PC, delivering faster performance, greater reliability, and enhanced storage capacity. Whether you’re building a new rig or refreshing an older setup, installing an SSD is a straightforward way to elevate your gaming experience.
Ready to upgrade? Explore Lexar’s high-performance SSDs for reliable and cutting-edge storage solutions.